Create Your First Network Design
In this walkthrough, you will create a small working topology with three routers and three IP links.
Before You Begin
This exercise assumes that:
- you can log in to ENP
- you have already created and loaded a design
- you are looking at the Topology View
If you have not created a design yet, start with Create a network design.
Step 1: Open the Topology View
Once your design is loaded, you should see the Topology View window, your workspace for constructing and visualizing network topologies.
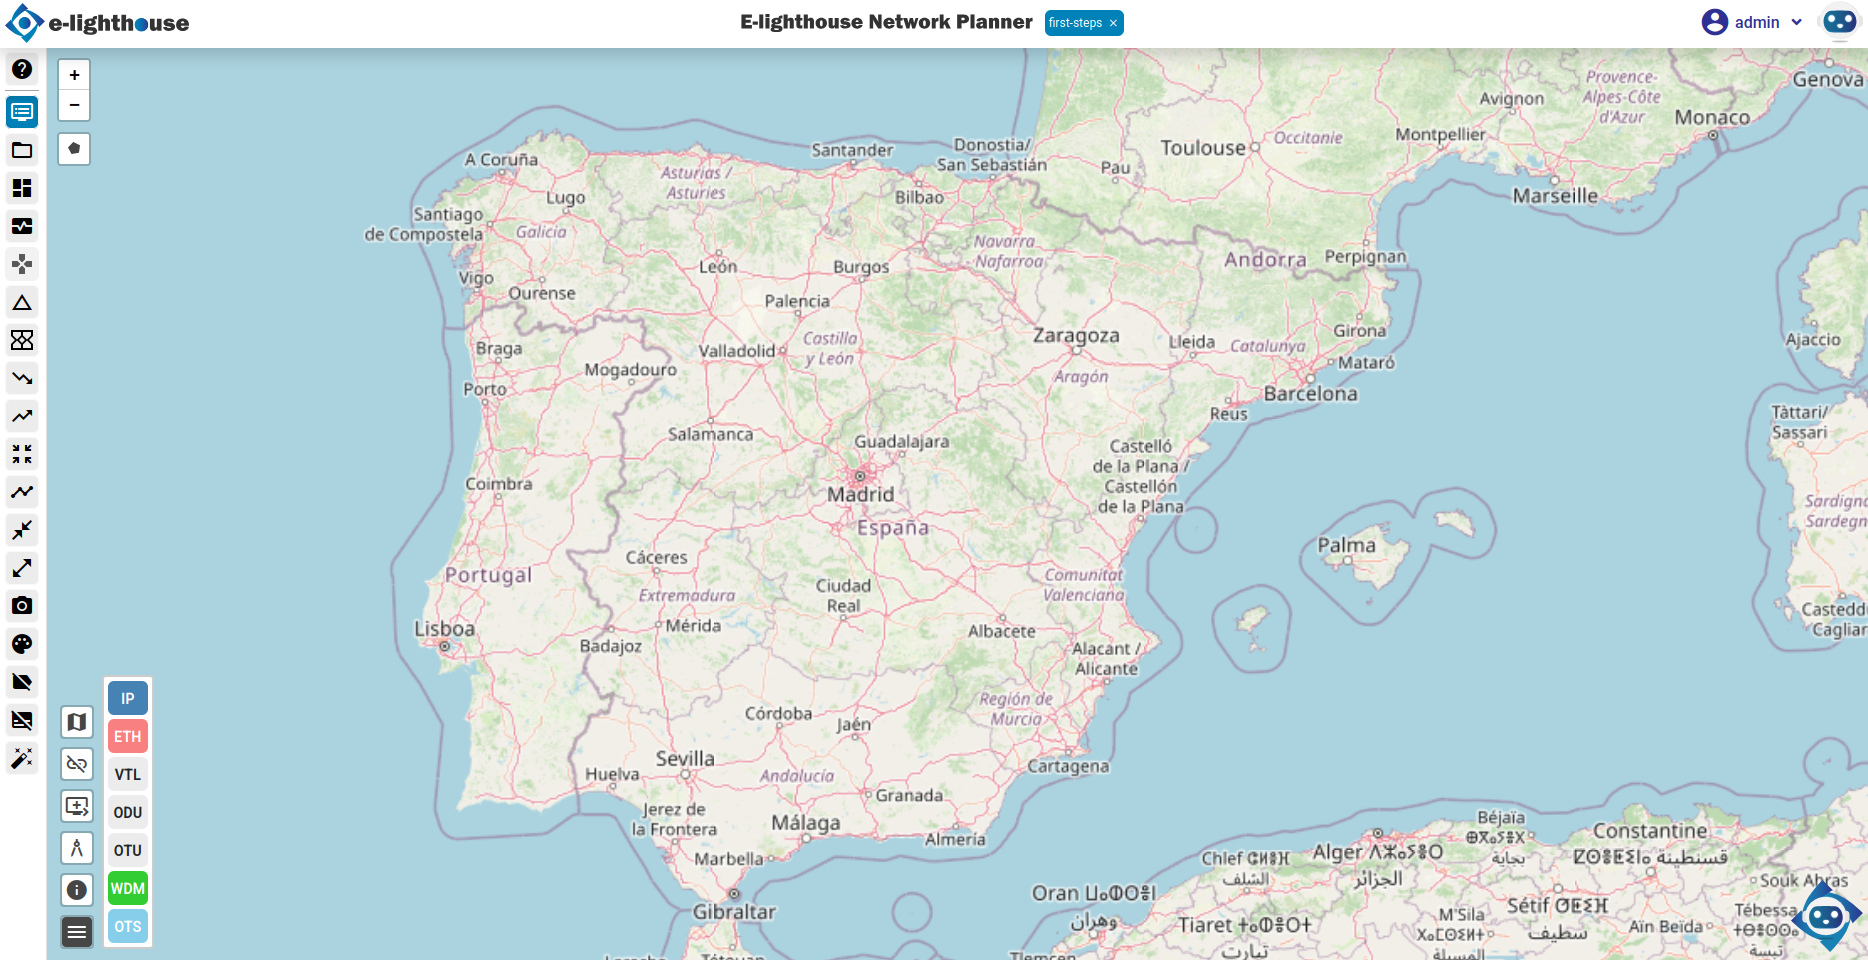
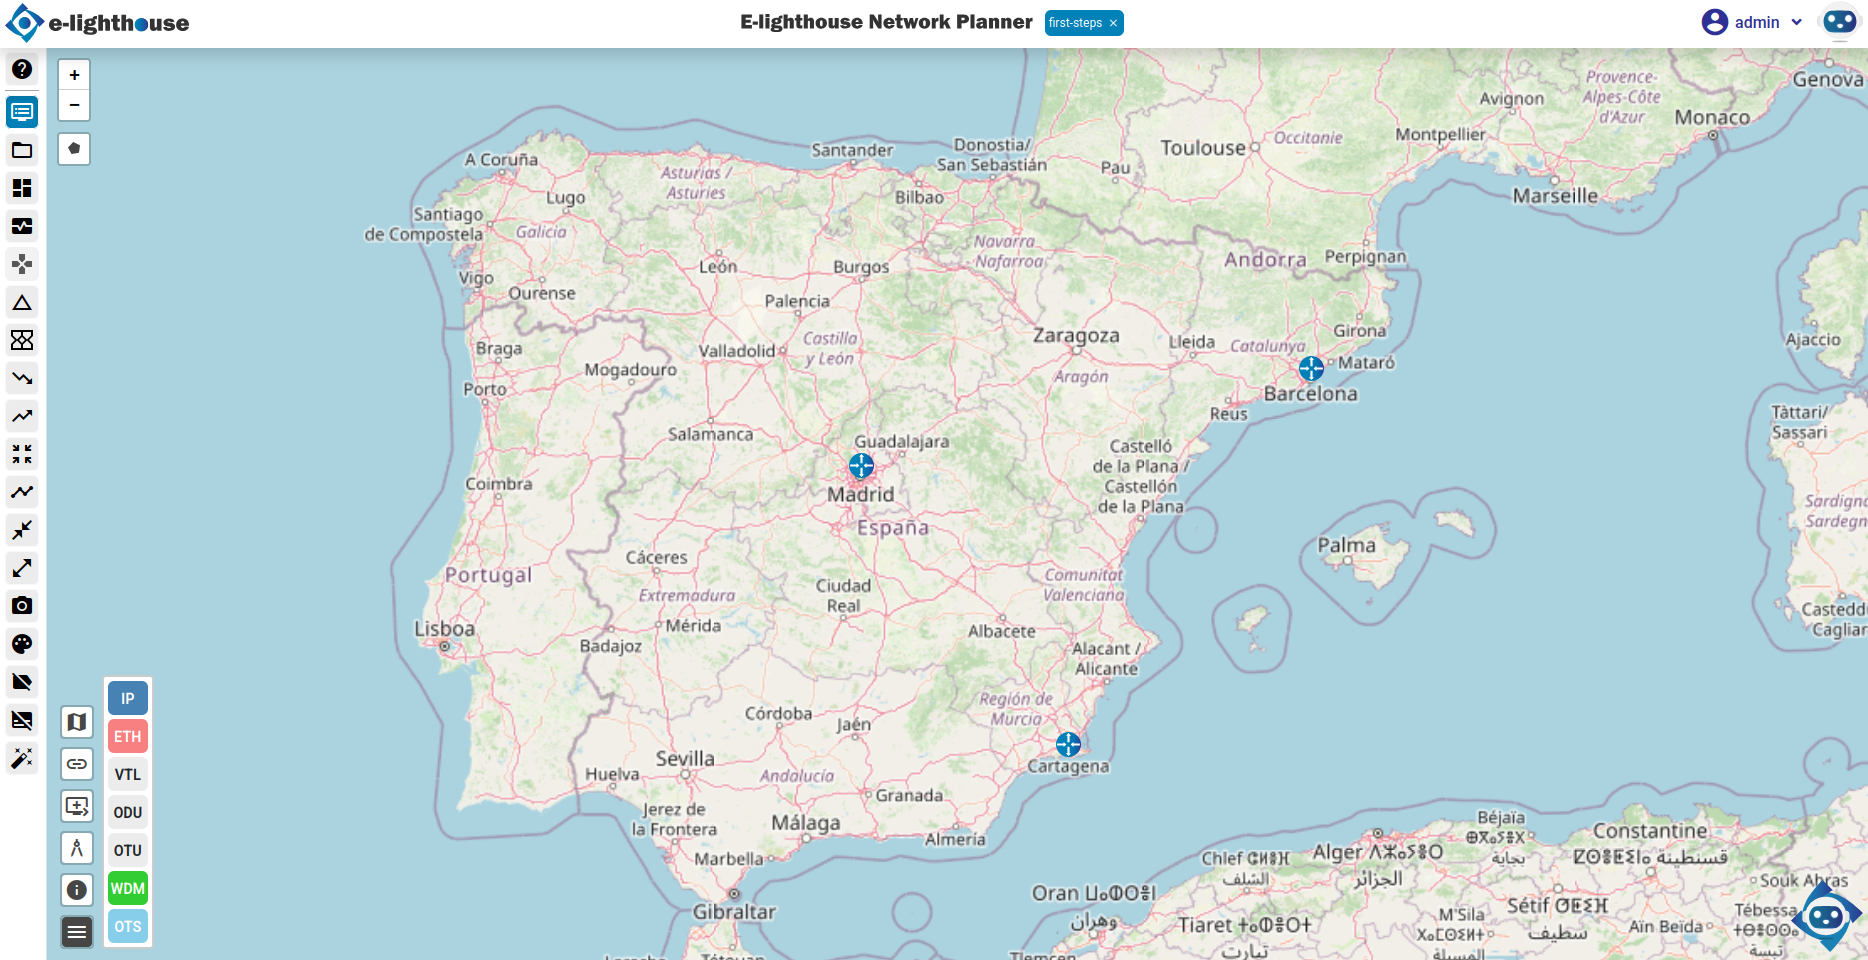
Step 2: Add Three Router Nodes
Use the right-click context menu to add nodes to your topology.
- Right-click on the map where you want to place the first router.
- Click the Node button.
- Select Add node of type IP Router.
- Set the Node name to
R1. - Repeat the process to create
R2andR3.
If your nodes are not visible on the map, disable Hide non-connected nodes in the lower part of the view.
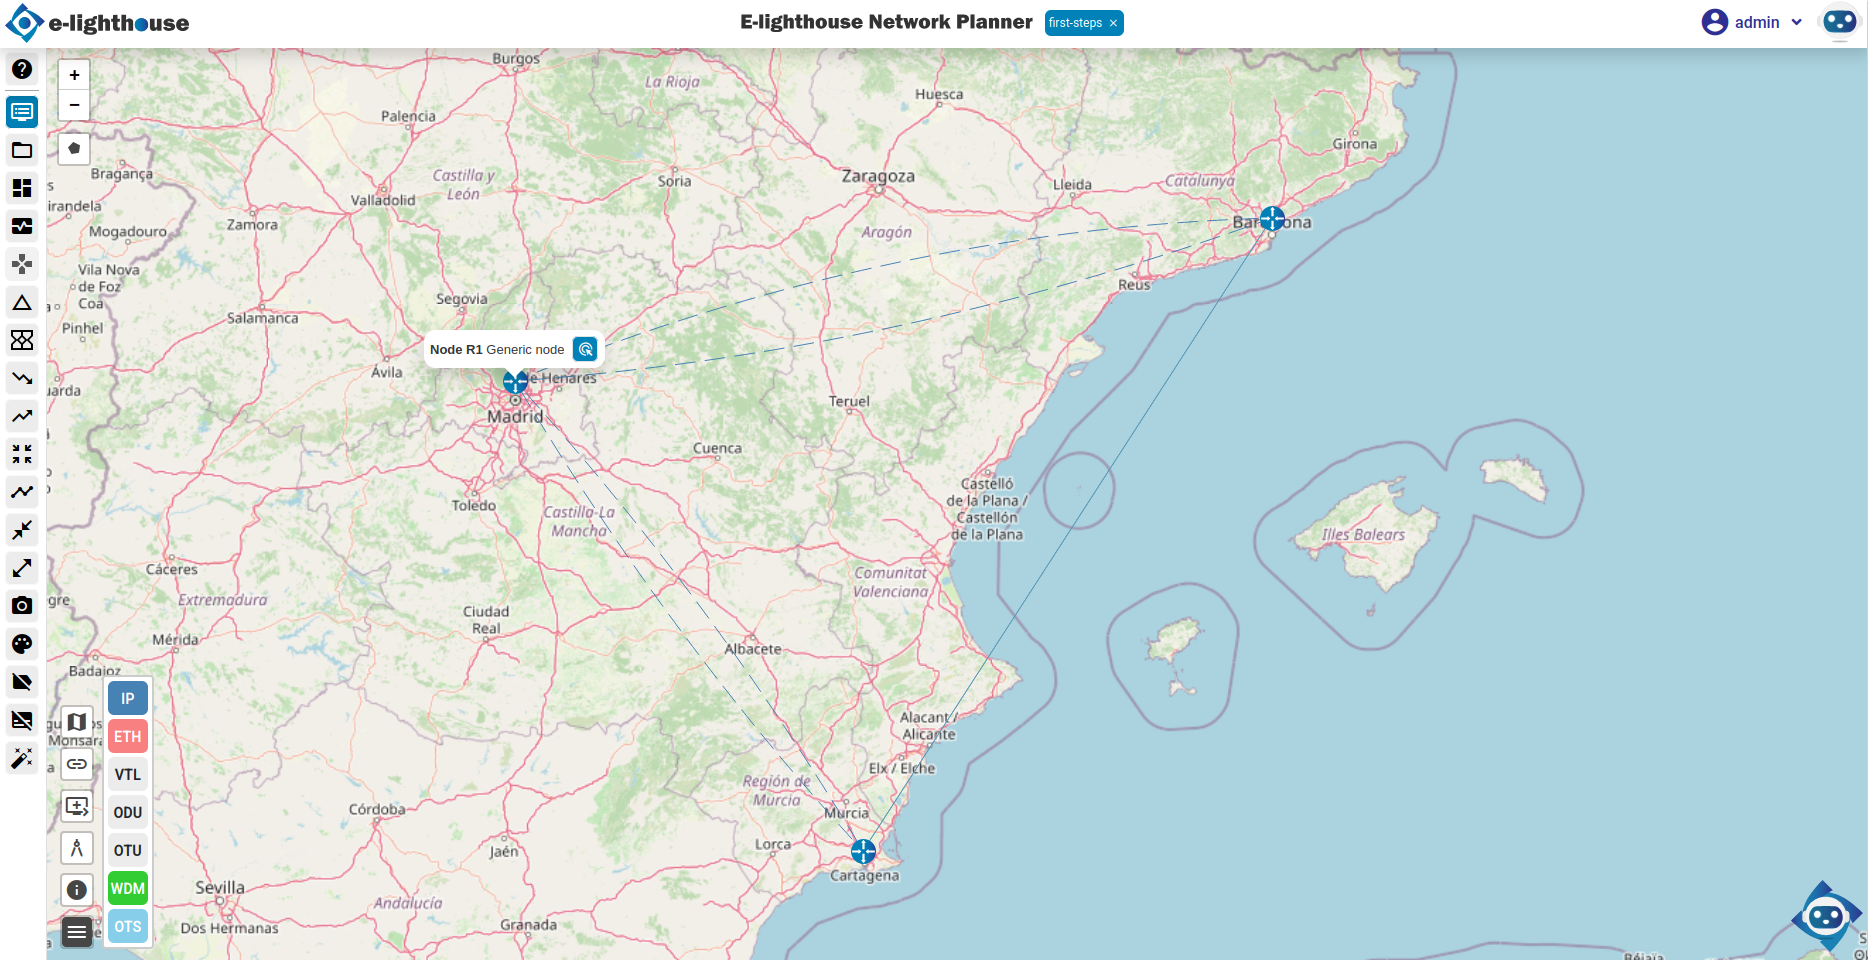
Step 3: Connect Nodes with IP Links
Now connect the routers with IP links.
- Right-click on the origin node, for example
R1, and choose Create a new link. - Click the destination node, for example
R2. - Choose Add IP link over virtual transport connection.
- Set the following link properties:
- Link name:
R1-R2 - Nominal rate:
100 Mbps - Repeat the process for
R2-R3andR3-R1.
At this point, you should have a triangle topology connecting all three routers.
Step 4: Review Node and Link Properties
Use the Control Window to inspect and fine-tune node and link attributes.
- Open the Control Window from the top menu.
- Navigate to Network View & Analysis.
- Check the Nodes table for node metadata.
- In the IP/MPLS folder, go to the links-related tables.
- Review the created links there.
Step 5: Save the Design
Click Save Design in the top menu to persist your changes.
Your design is now ready for simulation or further enhancements.
What You Should Have Now
You should now have:
- 3 IP router nodes
- 3 IP links forming a triangle
- a saved design that you can inspect in both the Topology View and the Control Window
Recommended Next Step
Continue with one of these: