Exploring the User Interface
Once logged in, you will encounter the ENP user interface. We recommend taking a brief tour of the GUI to familiarize yourself with the different sections and functions available.
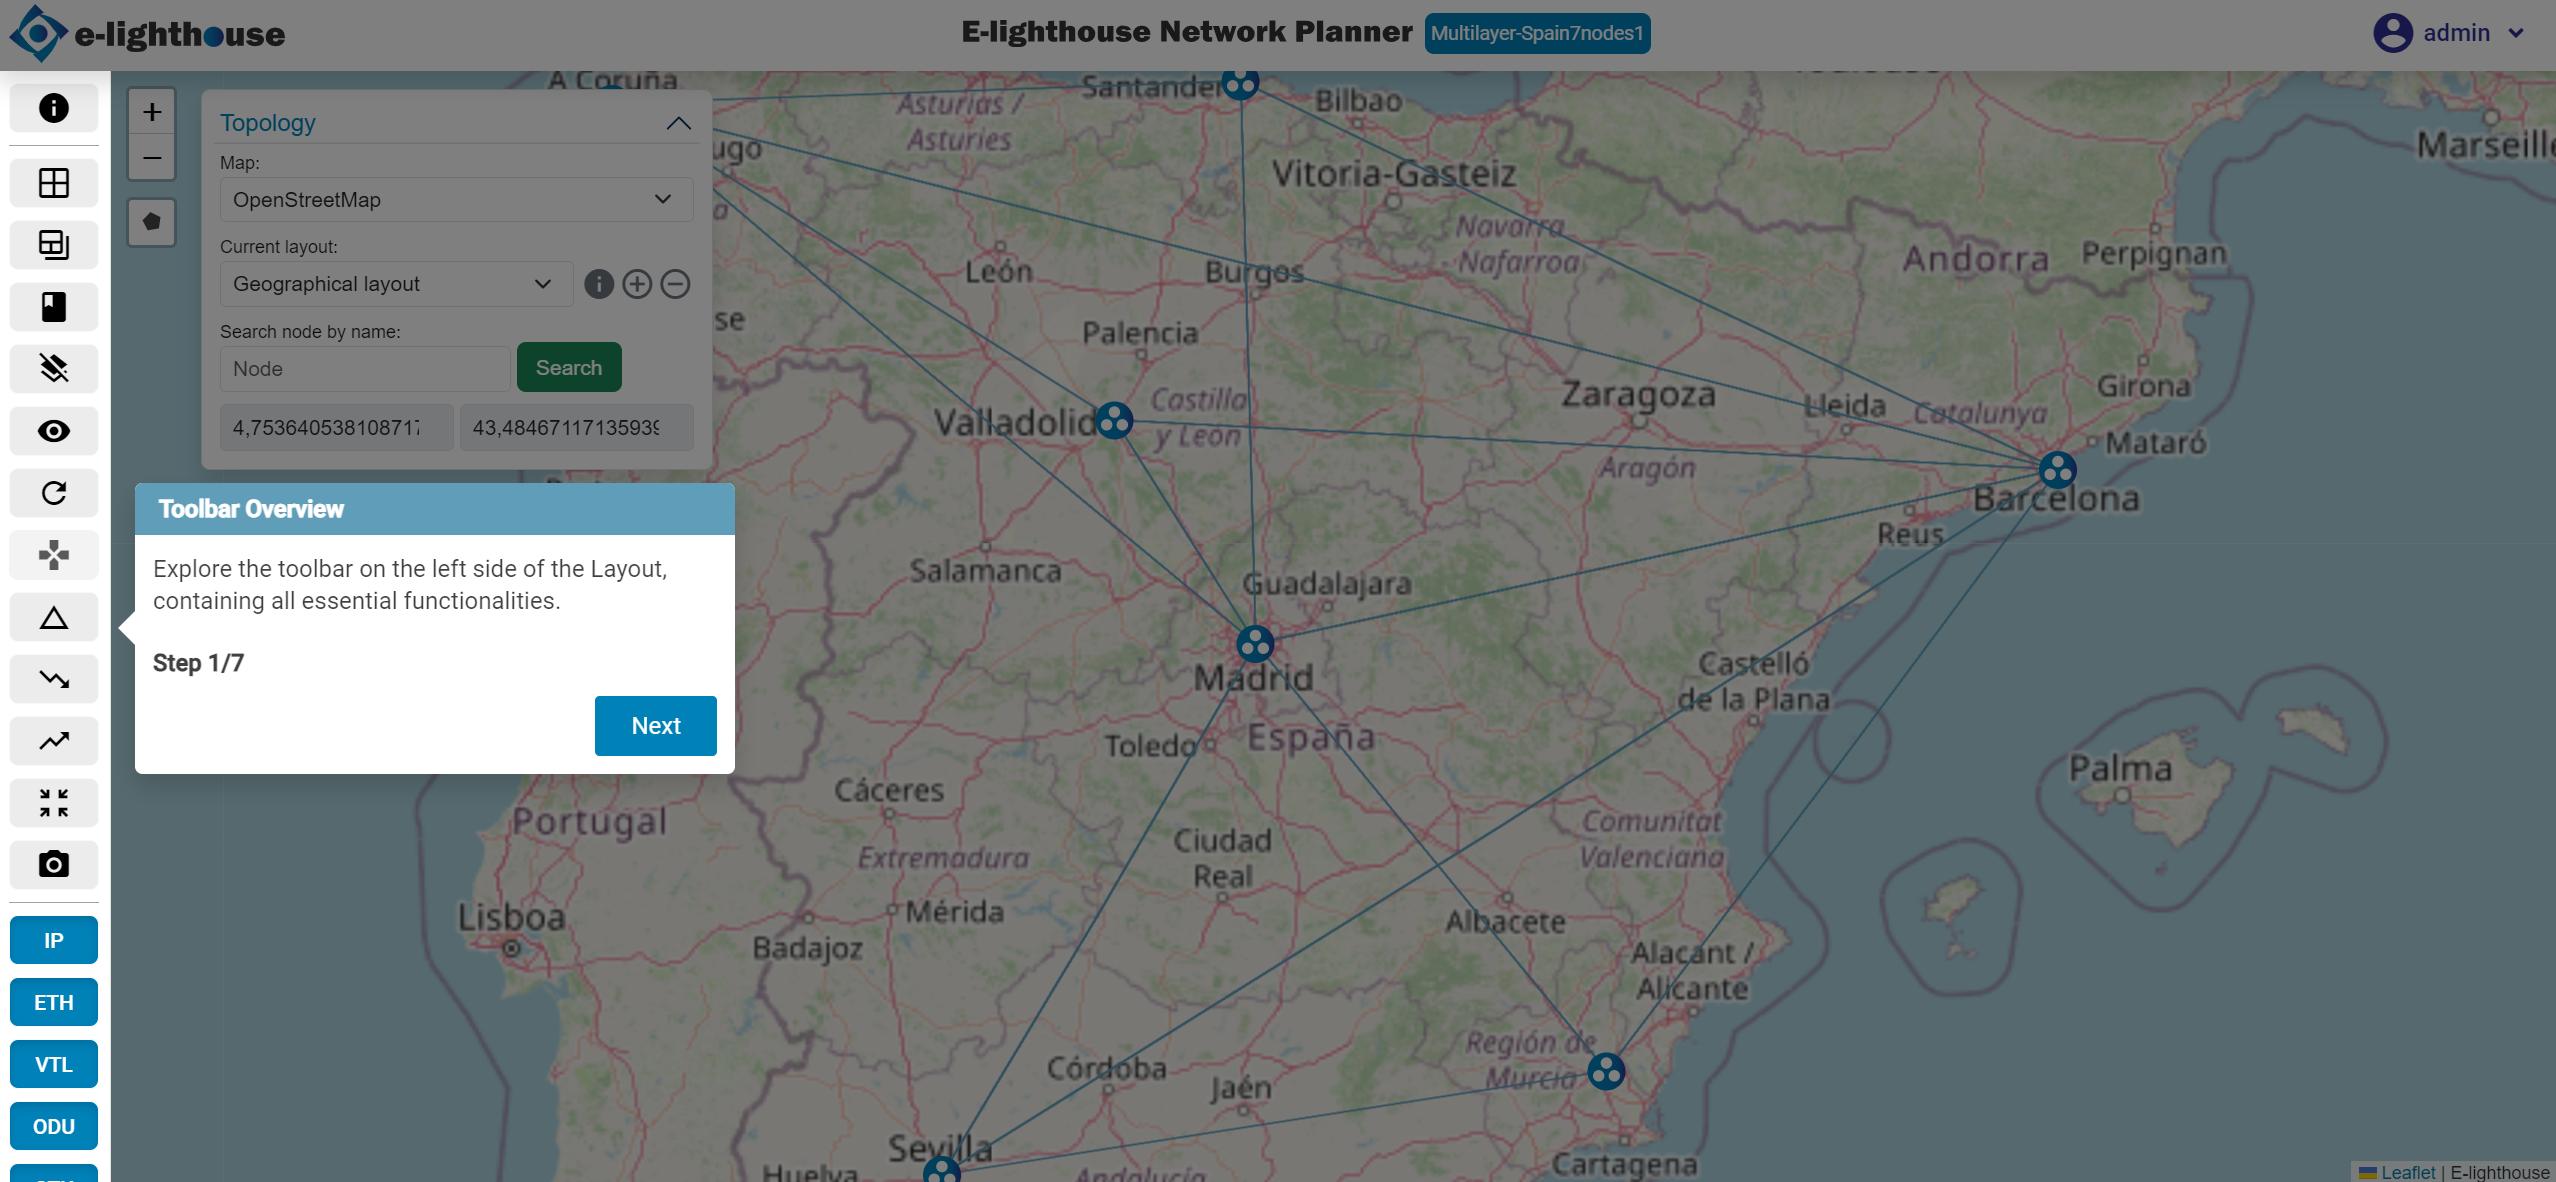
Tour in Layout view
Step 1 of 7: Toolbar Overview
Explore the toolbar on the left side of the Layout, containing all essential functionalities.
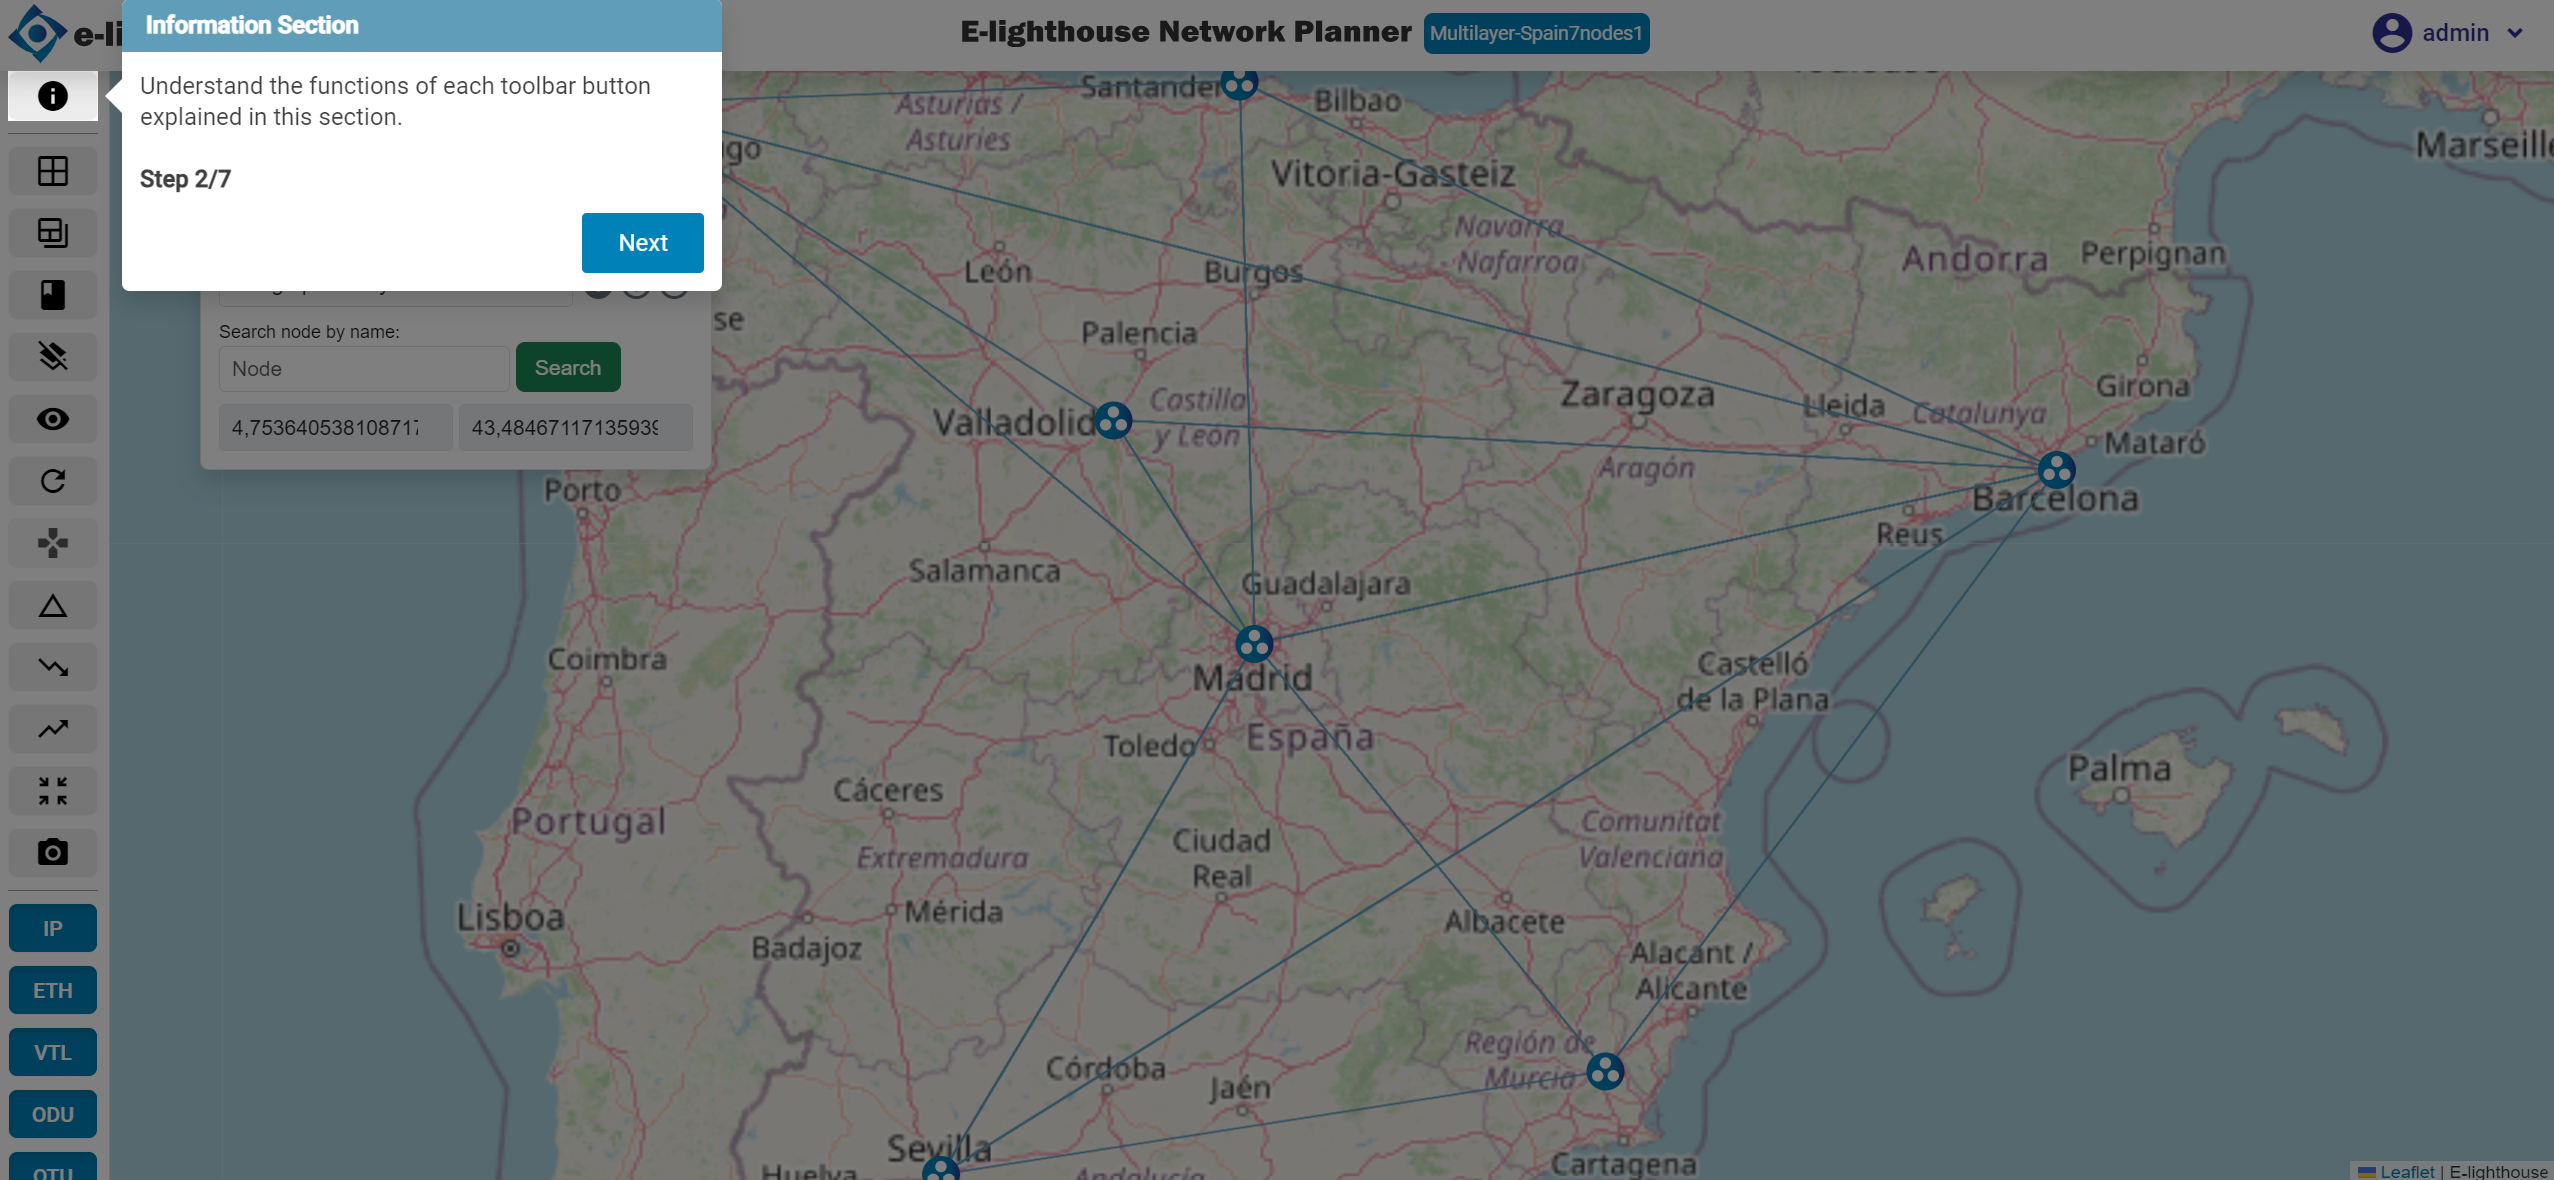
Step 2 of 7: Information Section
Understand the functions of each toolbar button explained in this section.
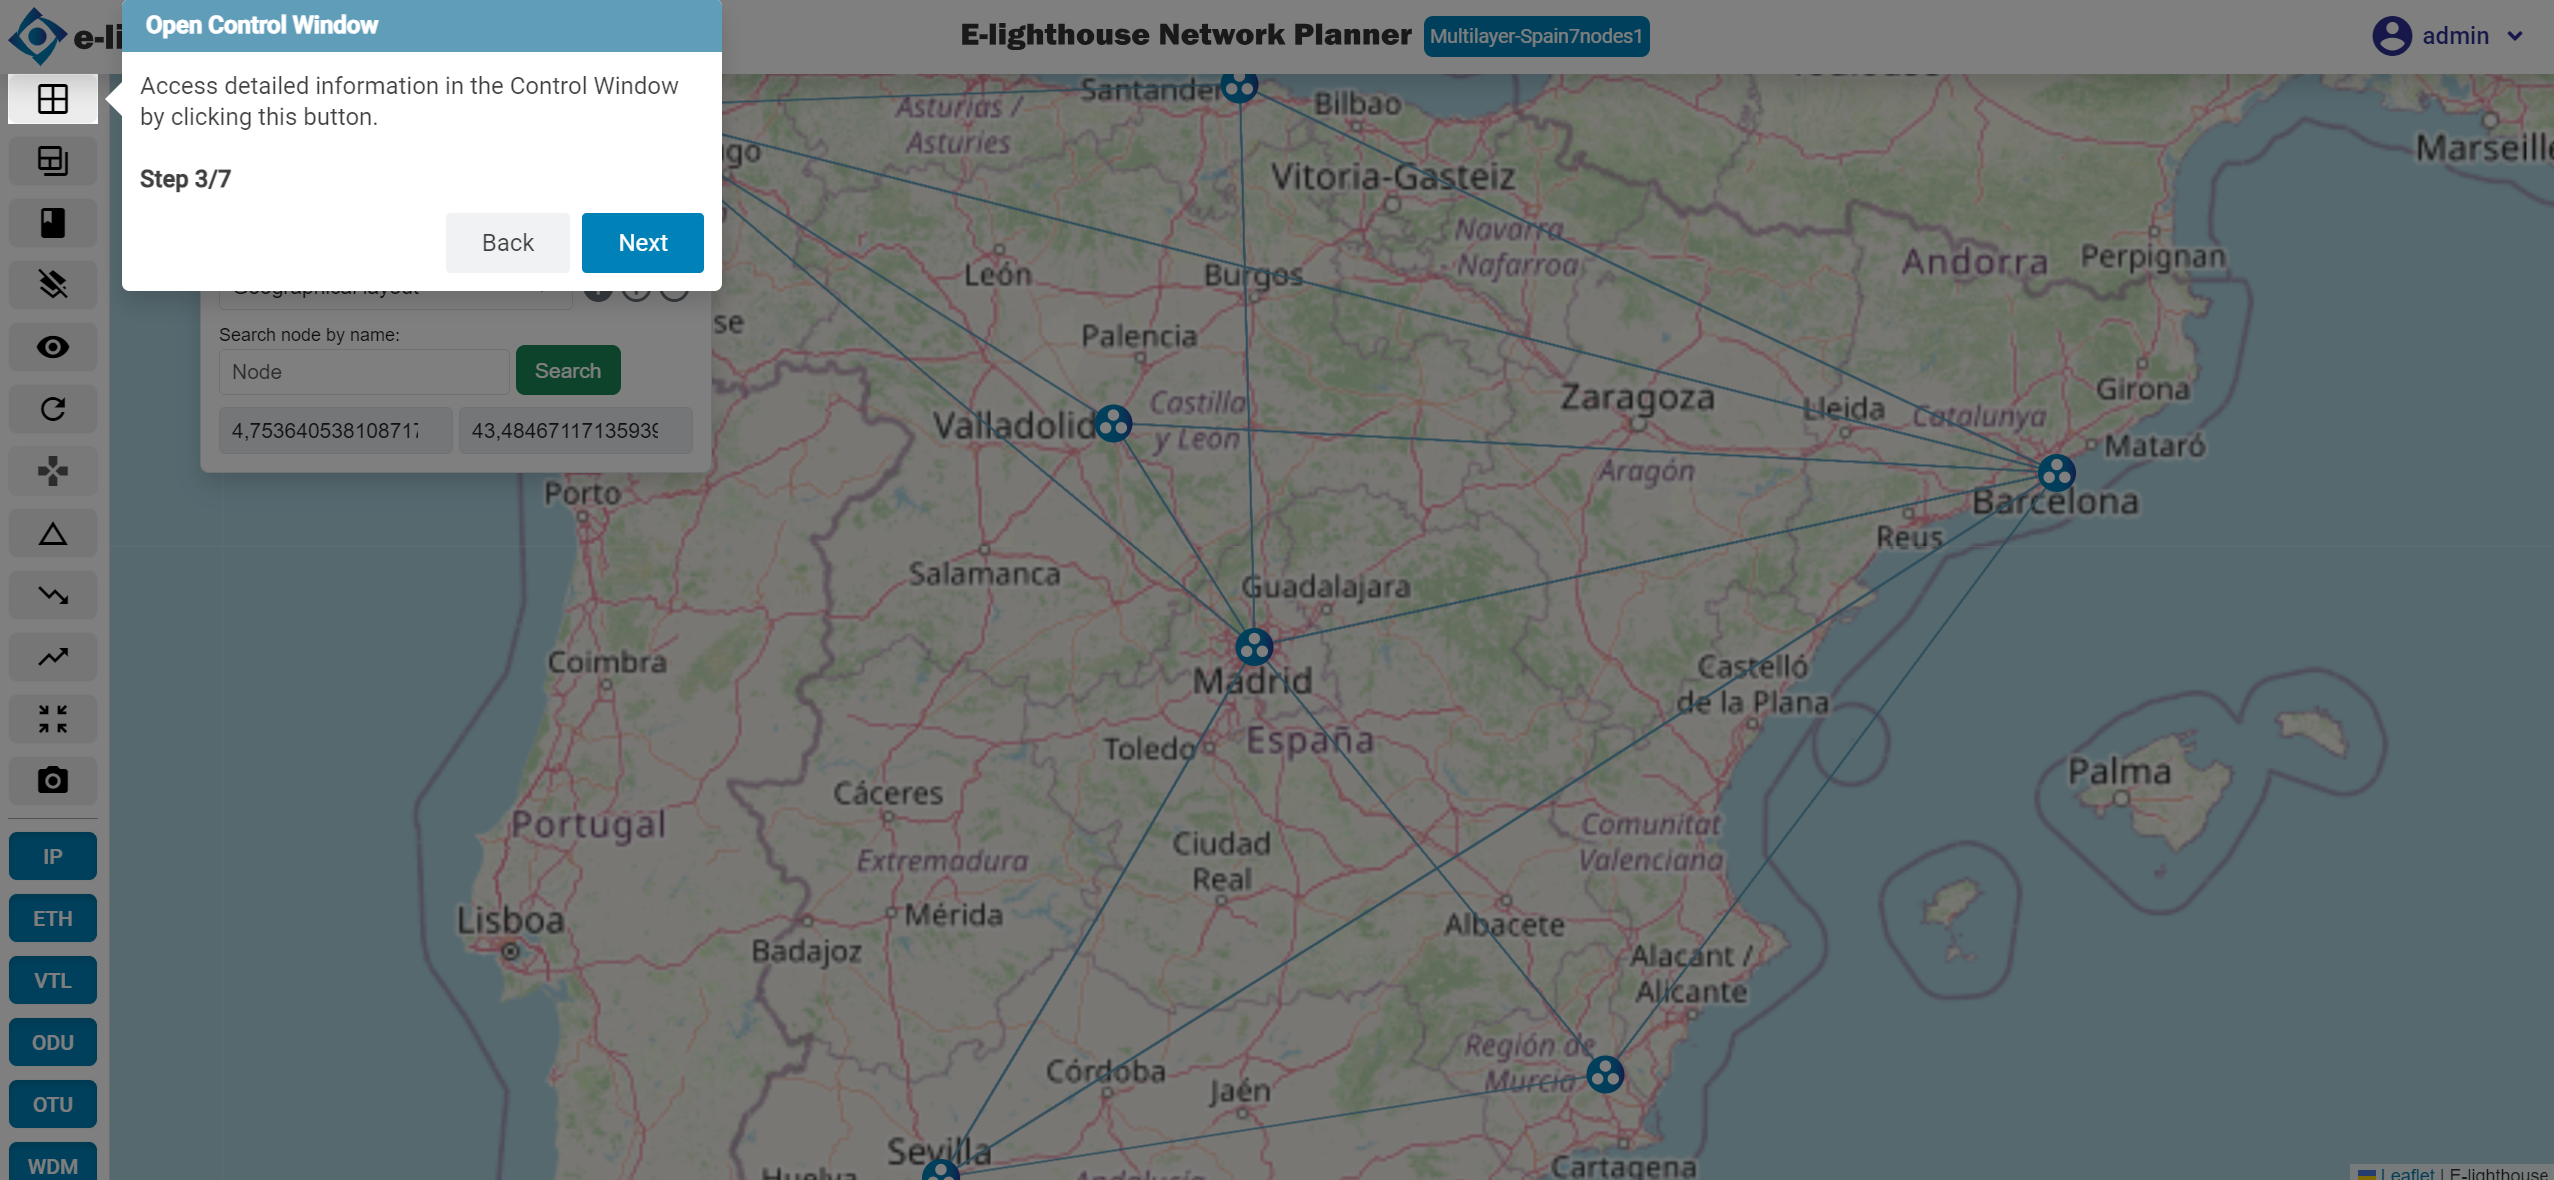
Step 3 of 7: Open Control Window
Access detailed information in the Control Window by clicking this button.
Step 4 of 7: File System
To manage designs; create folders to classify them; create new designs from others already created or from scratch; remove layouts; upload a design.

Step 5 of 7: Map Features
Explore map features like zooming, creating polygons, and taking screenshots.

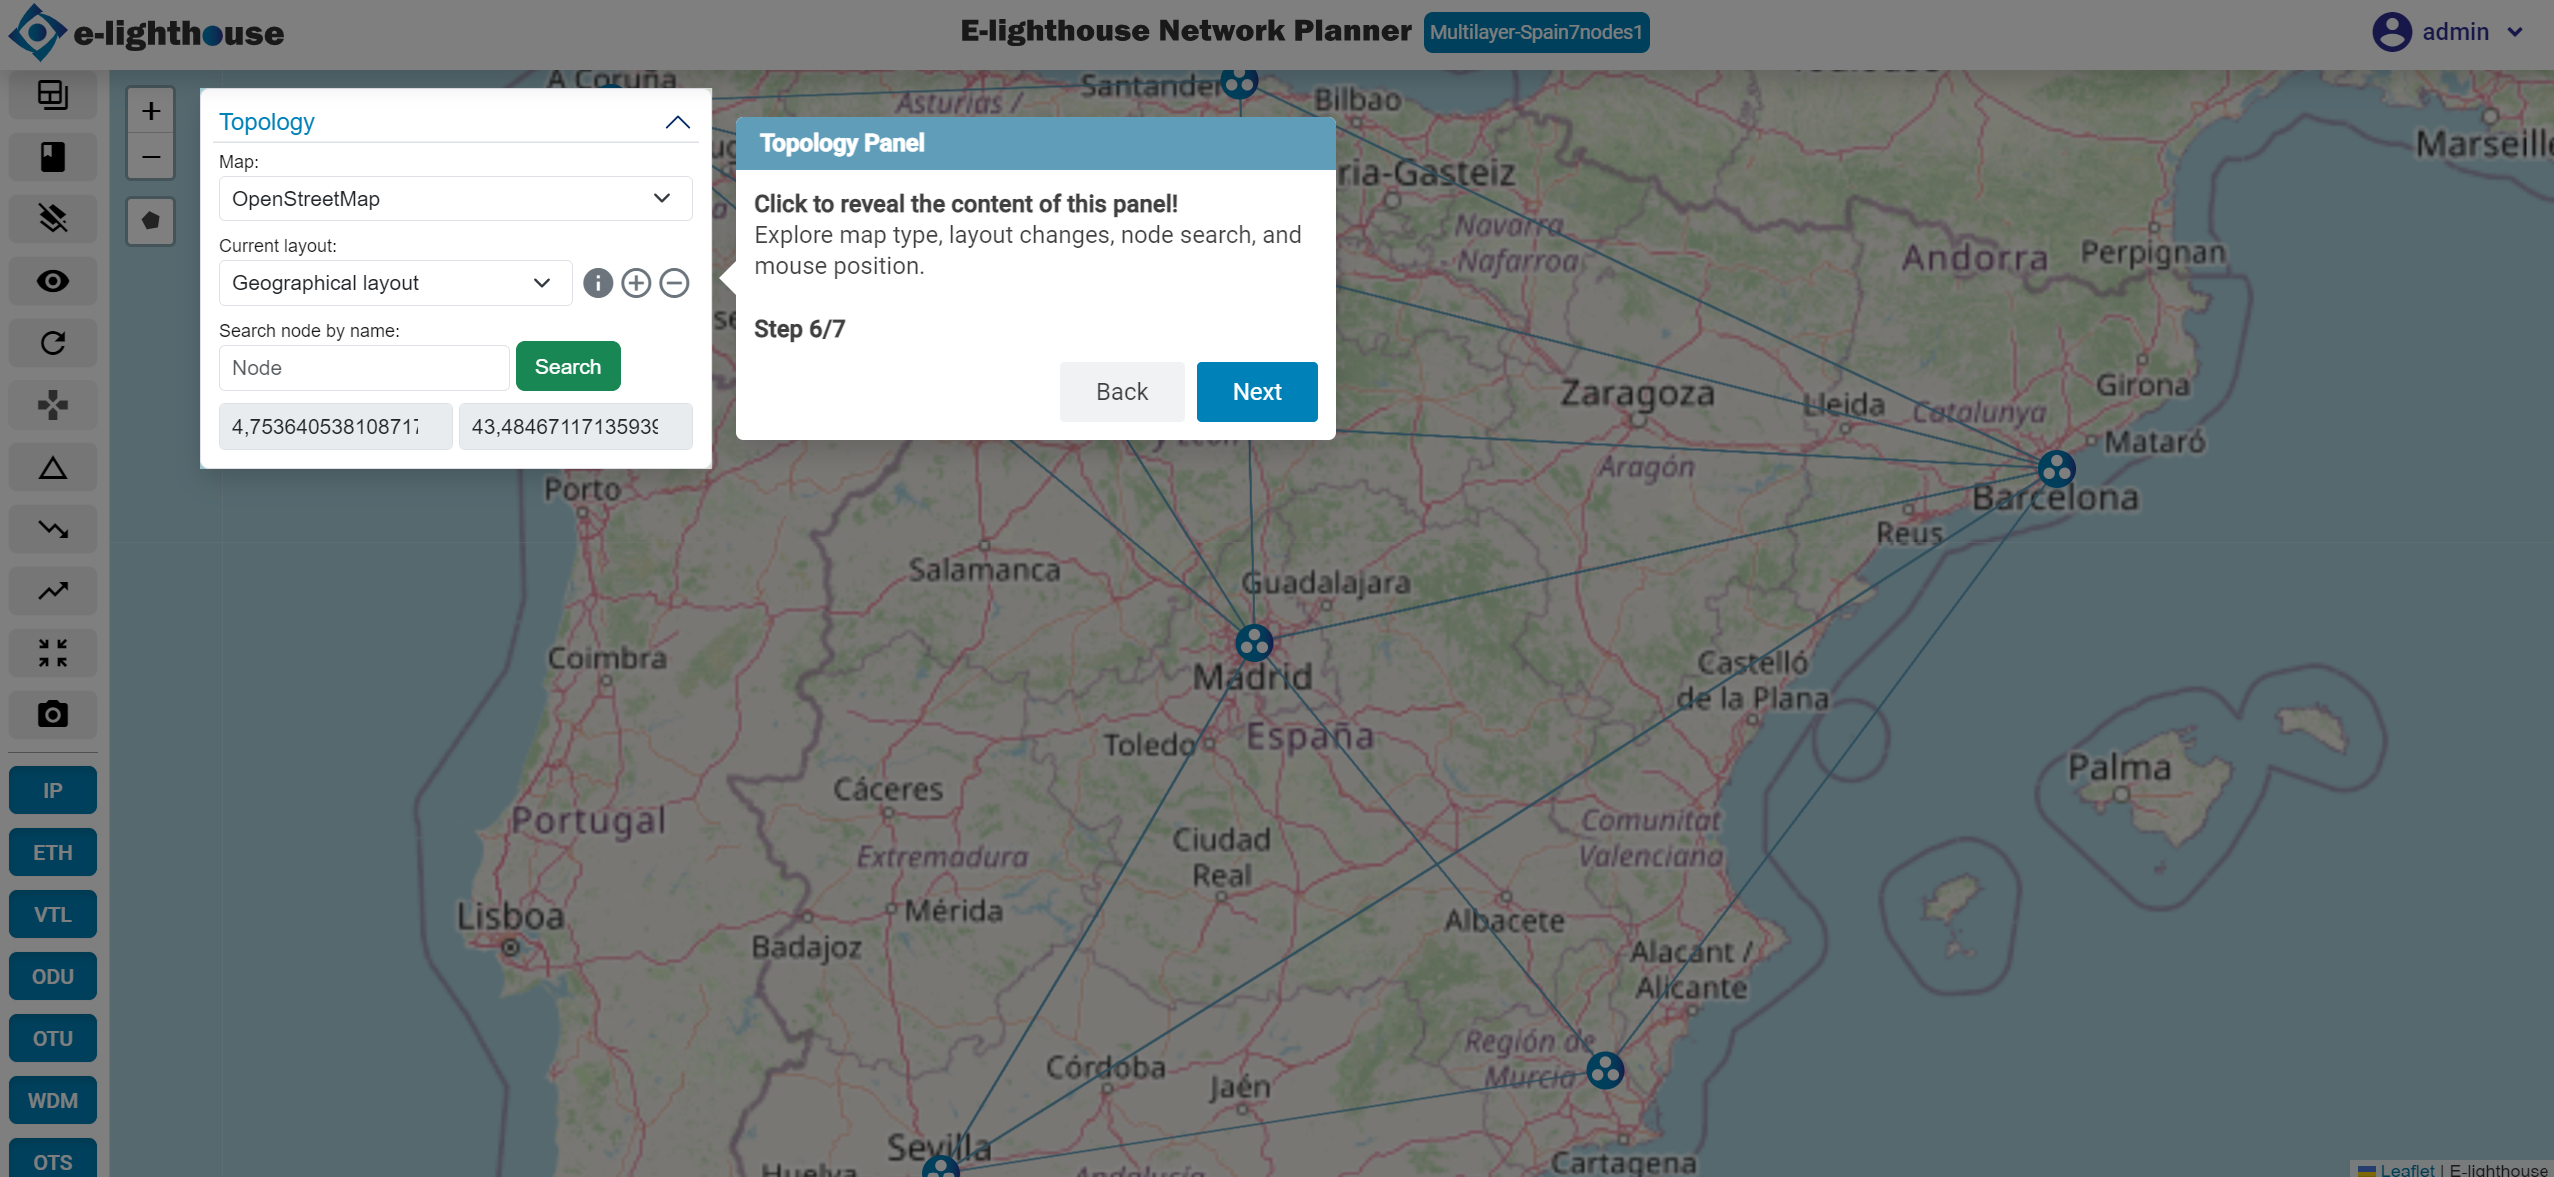
Step 6 of 7: Topology Panel
Click to reveal the content of this panel! Explore map type, layout changes, node search, and mouse position.
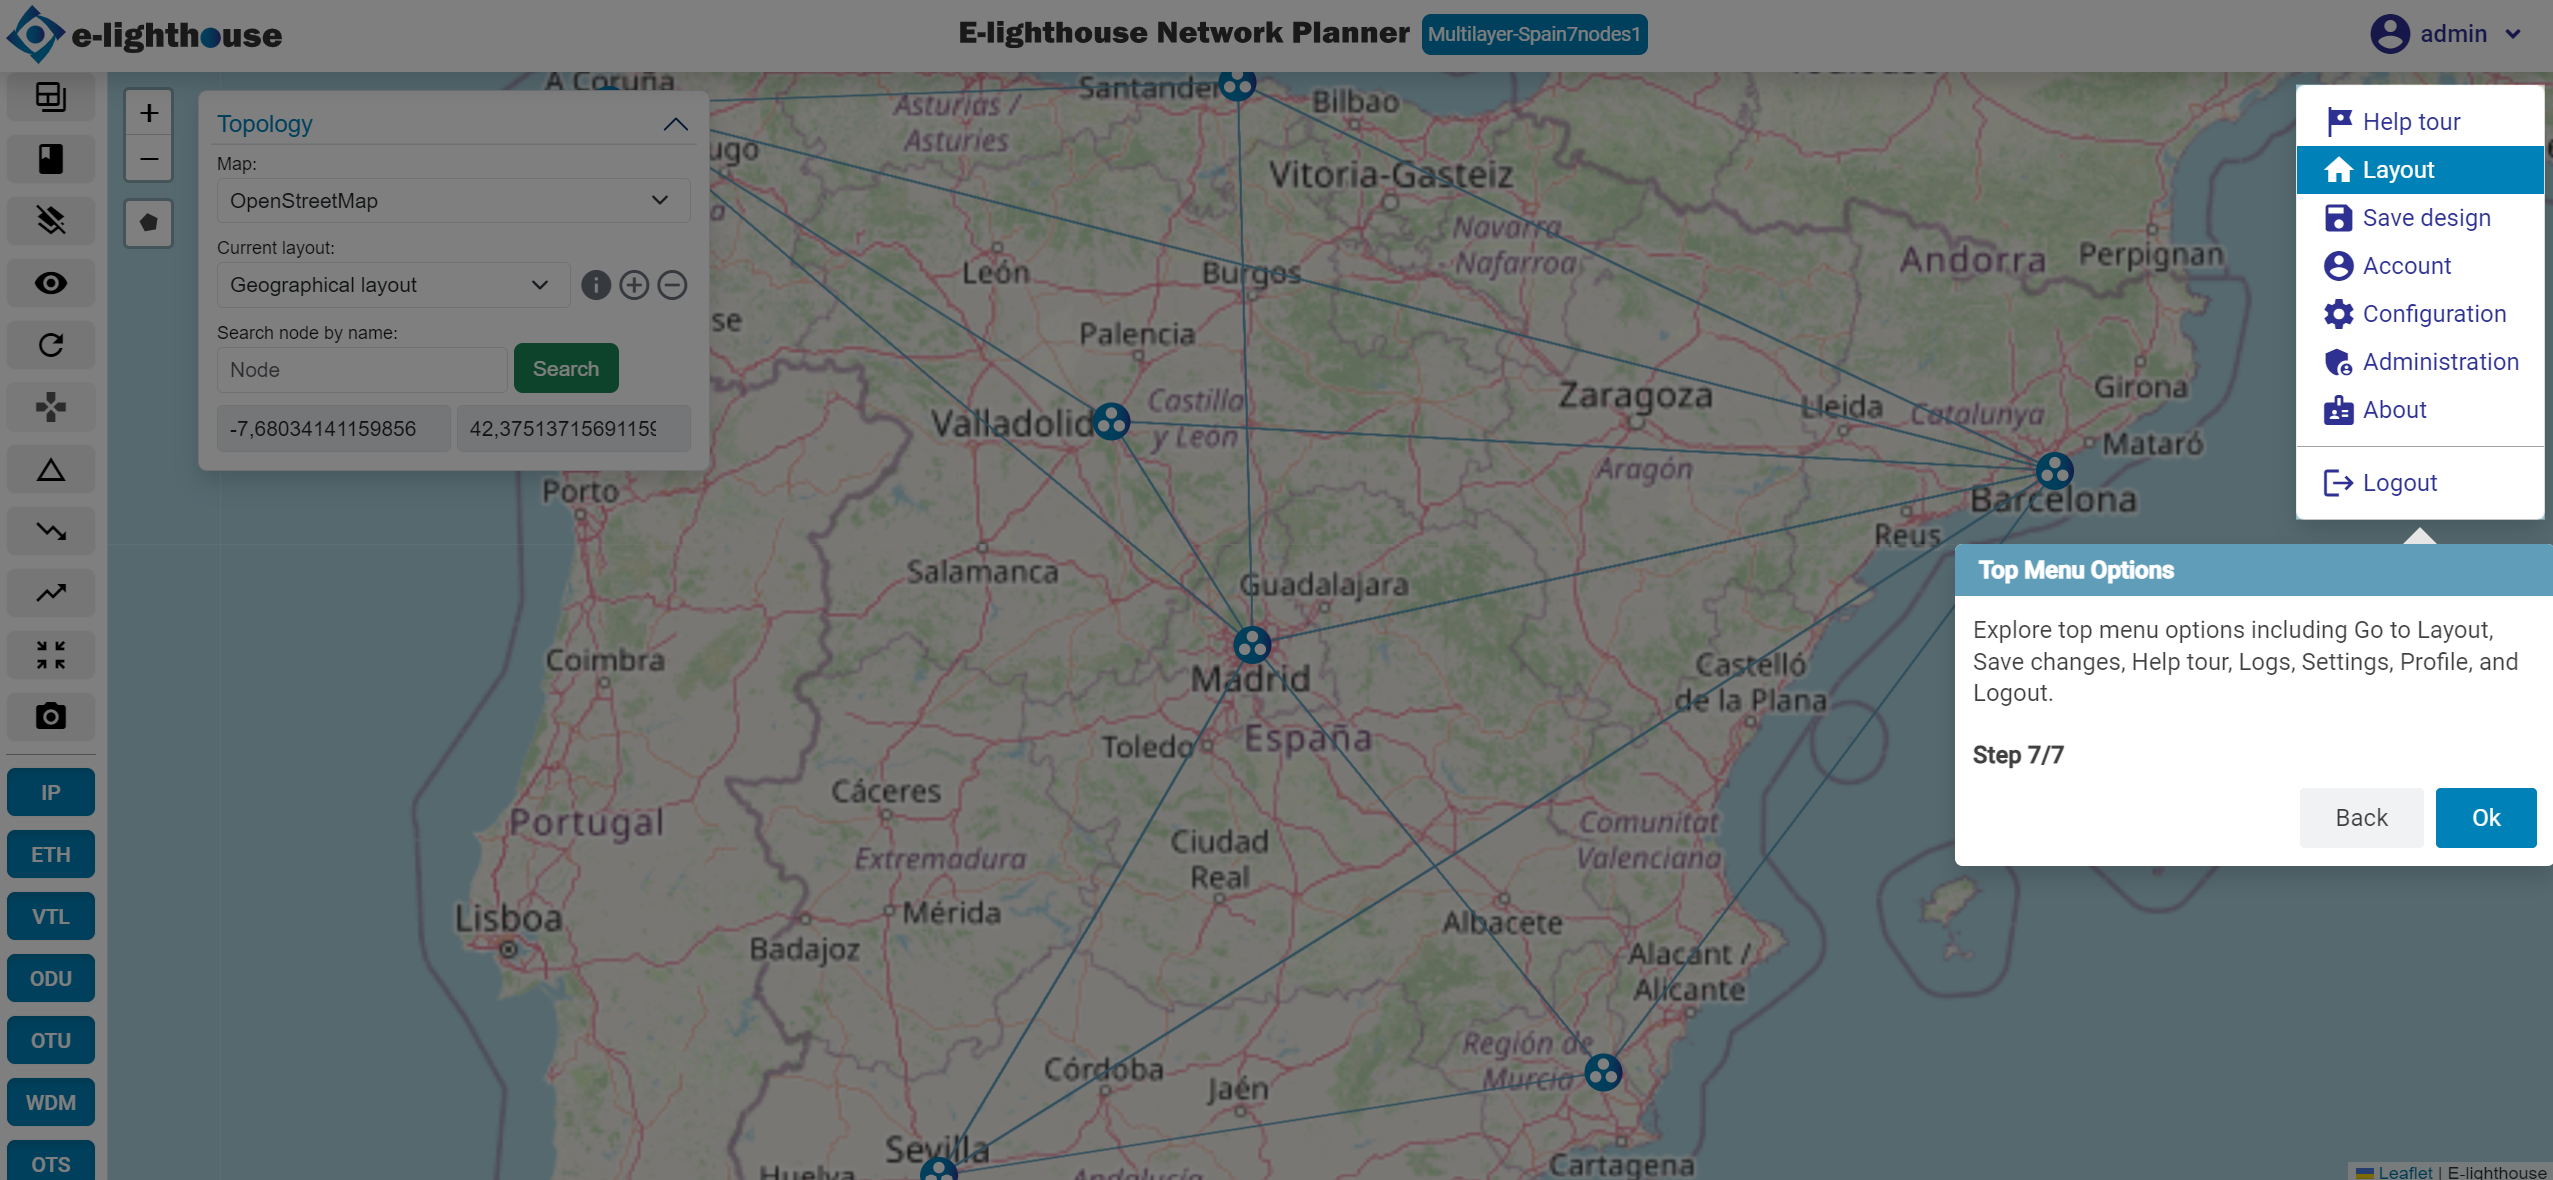
Step 7 of 7: Top Menu Options
Explore top menu options including Go to Layout, Save changes, Help tour, Logs, Settings, Profile, and Logout.
Tour in Control Window view
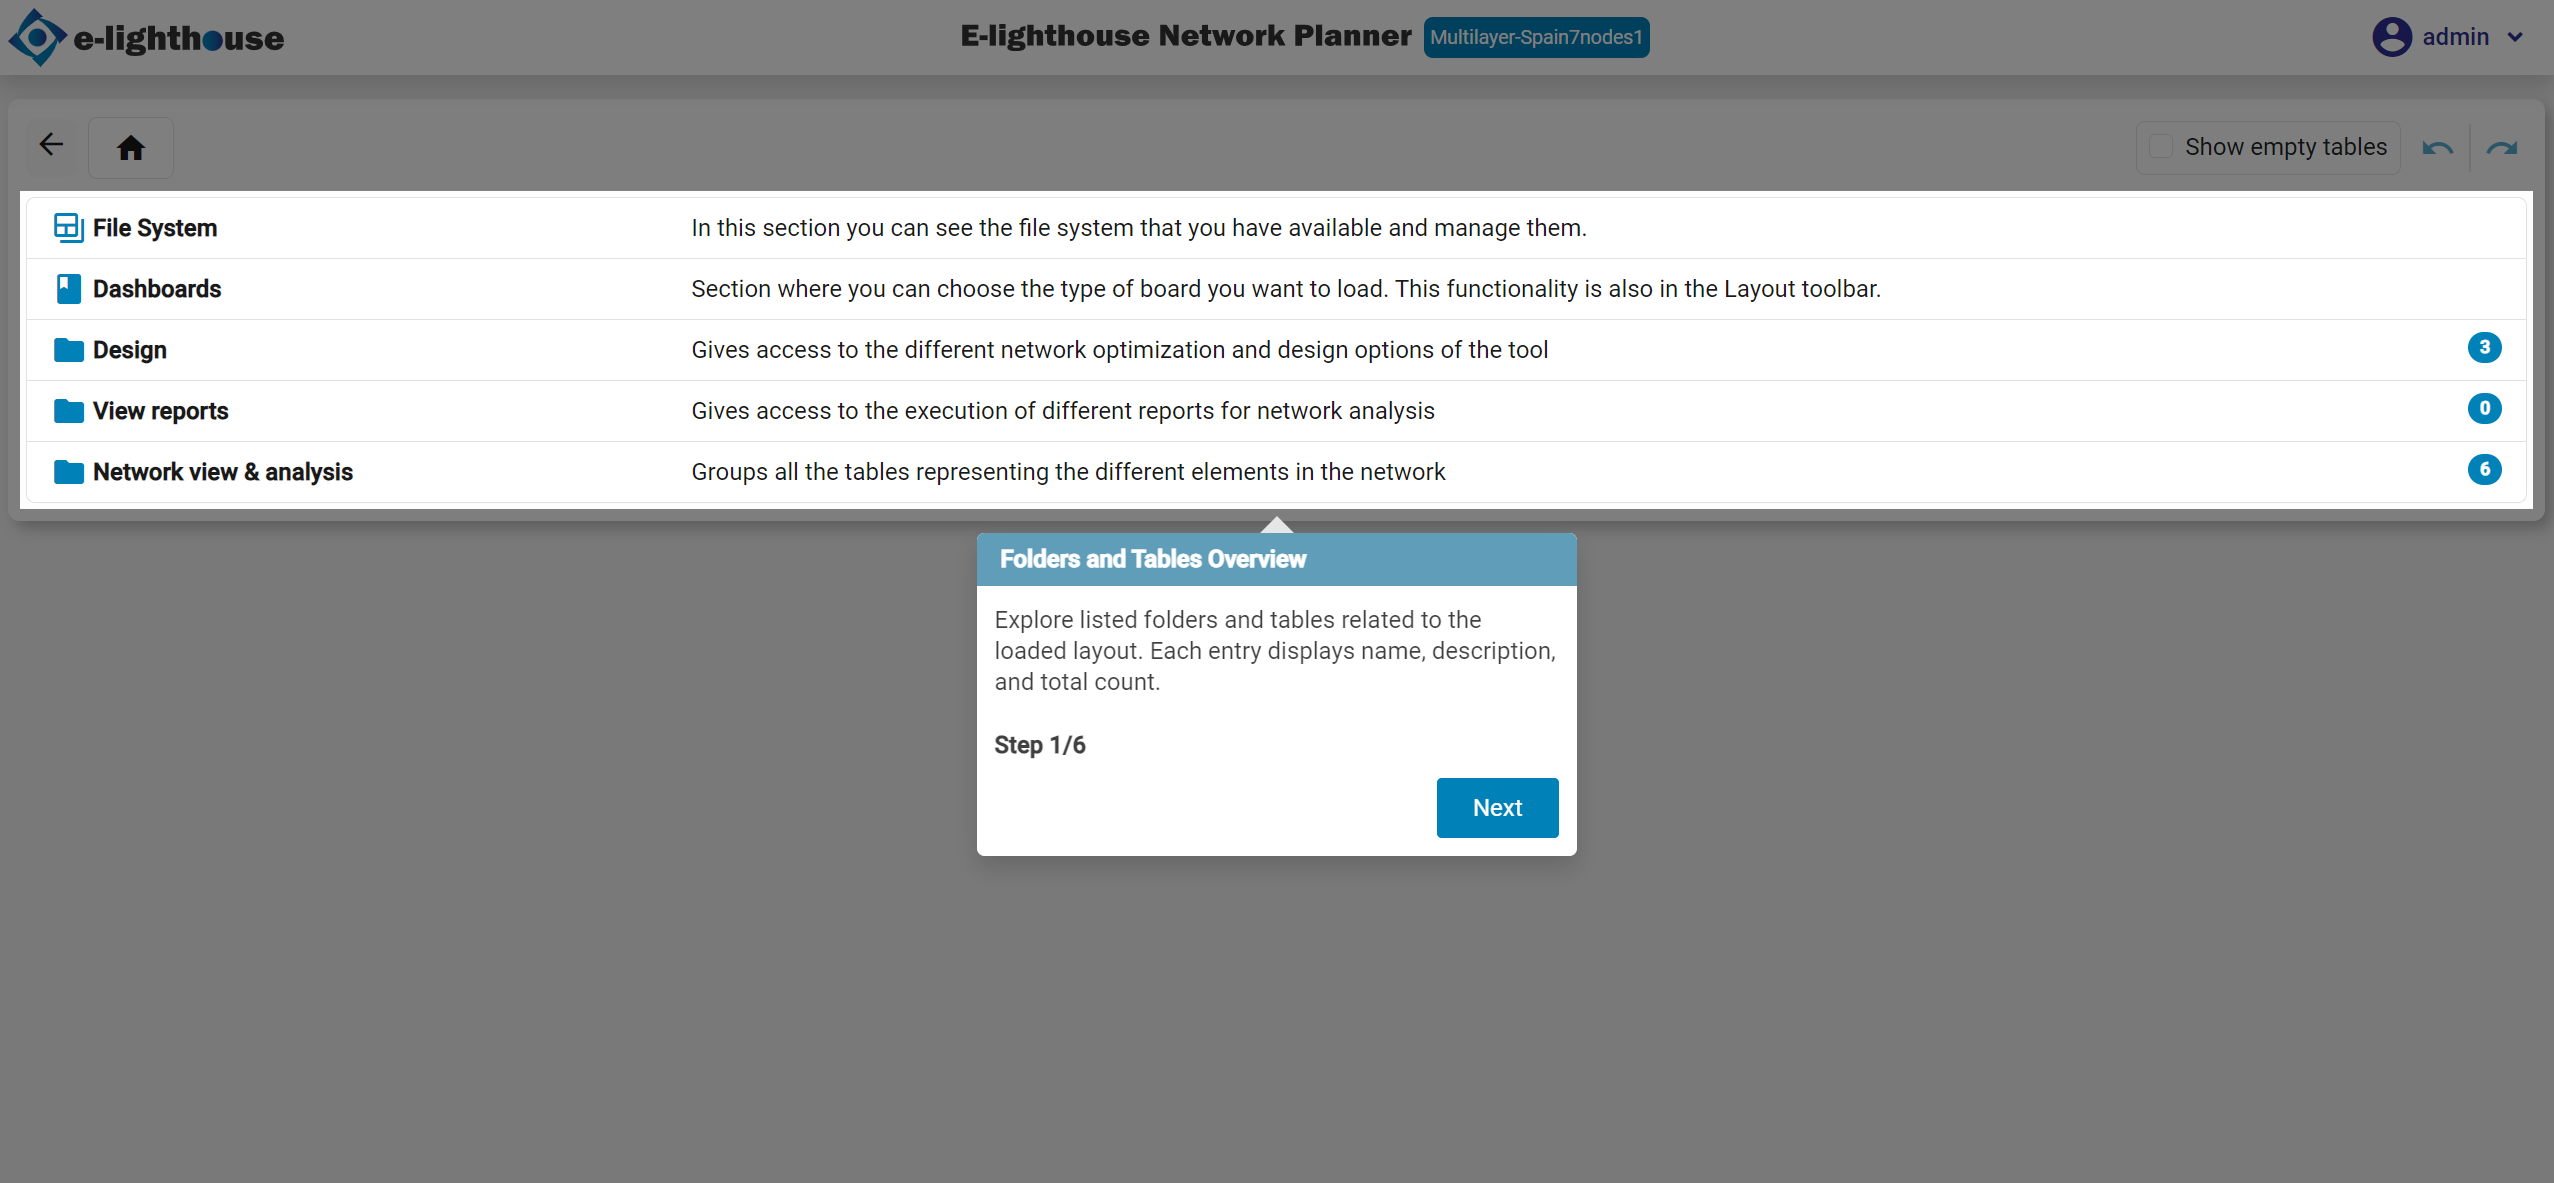
Folders and tables overview
Explore listed folders and tables related to the loaded layout. Each entry displays name, description, and total count.
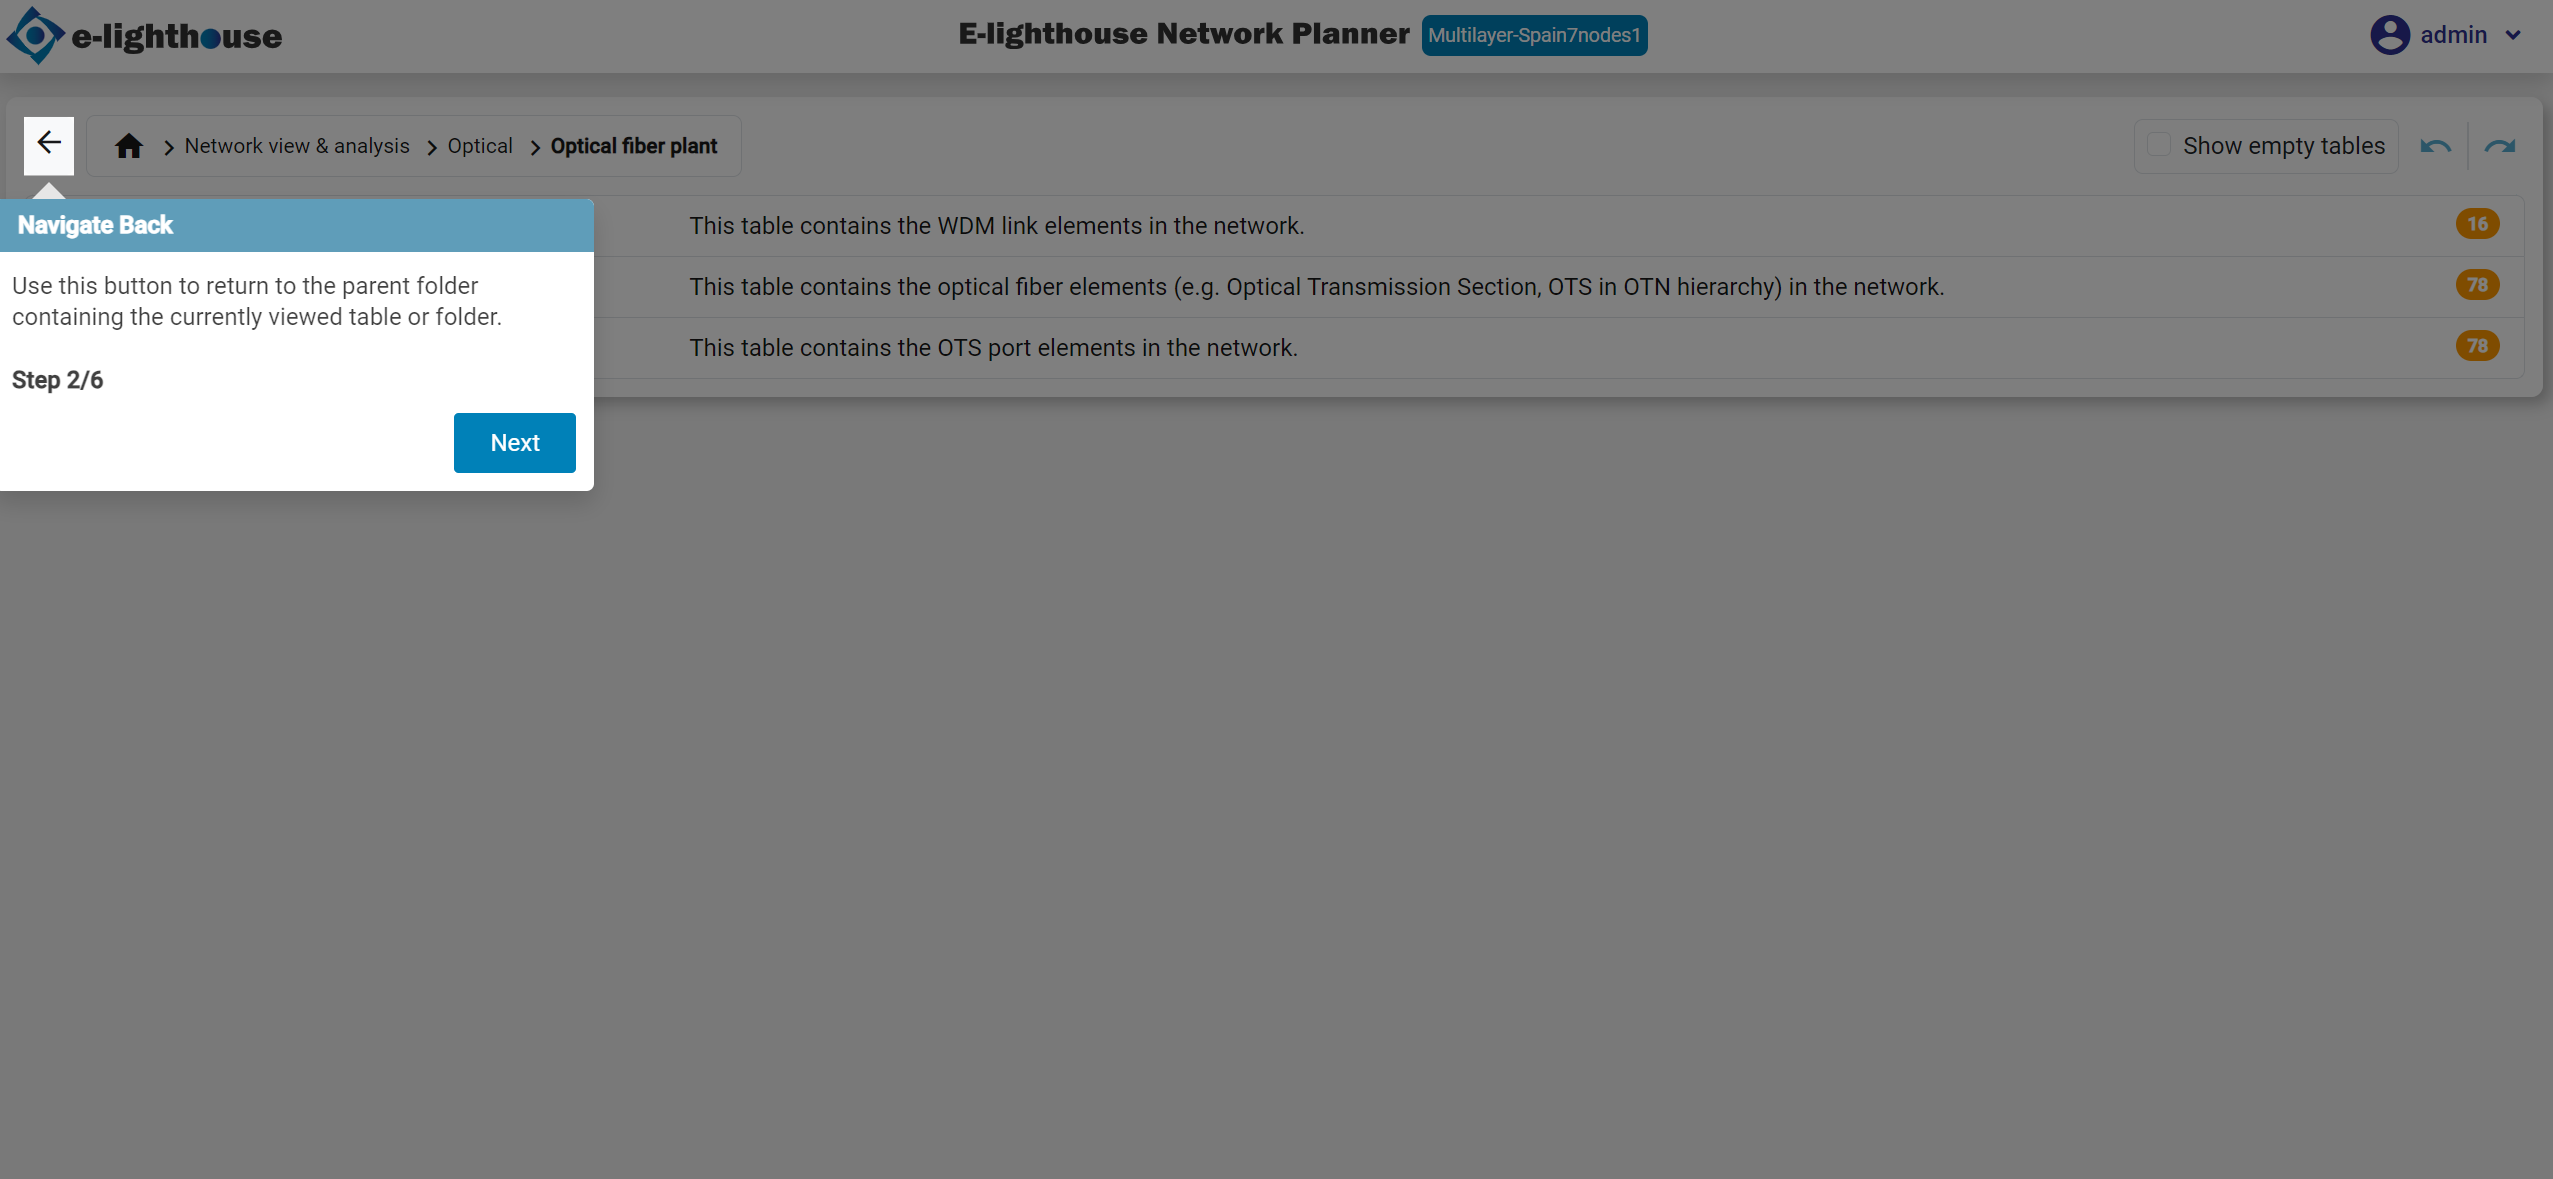
Navigate back
Option to return to the parent folder containing the currentlu view table or folder.
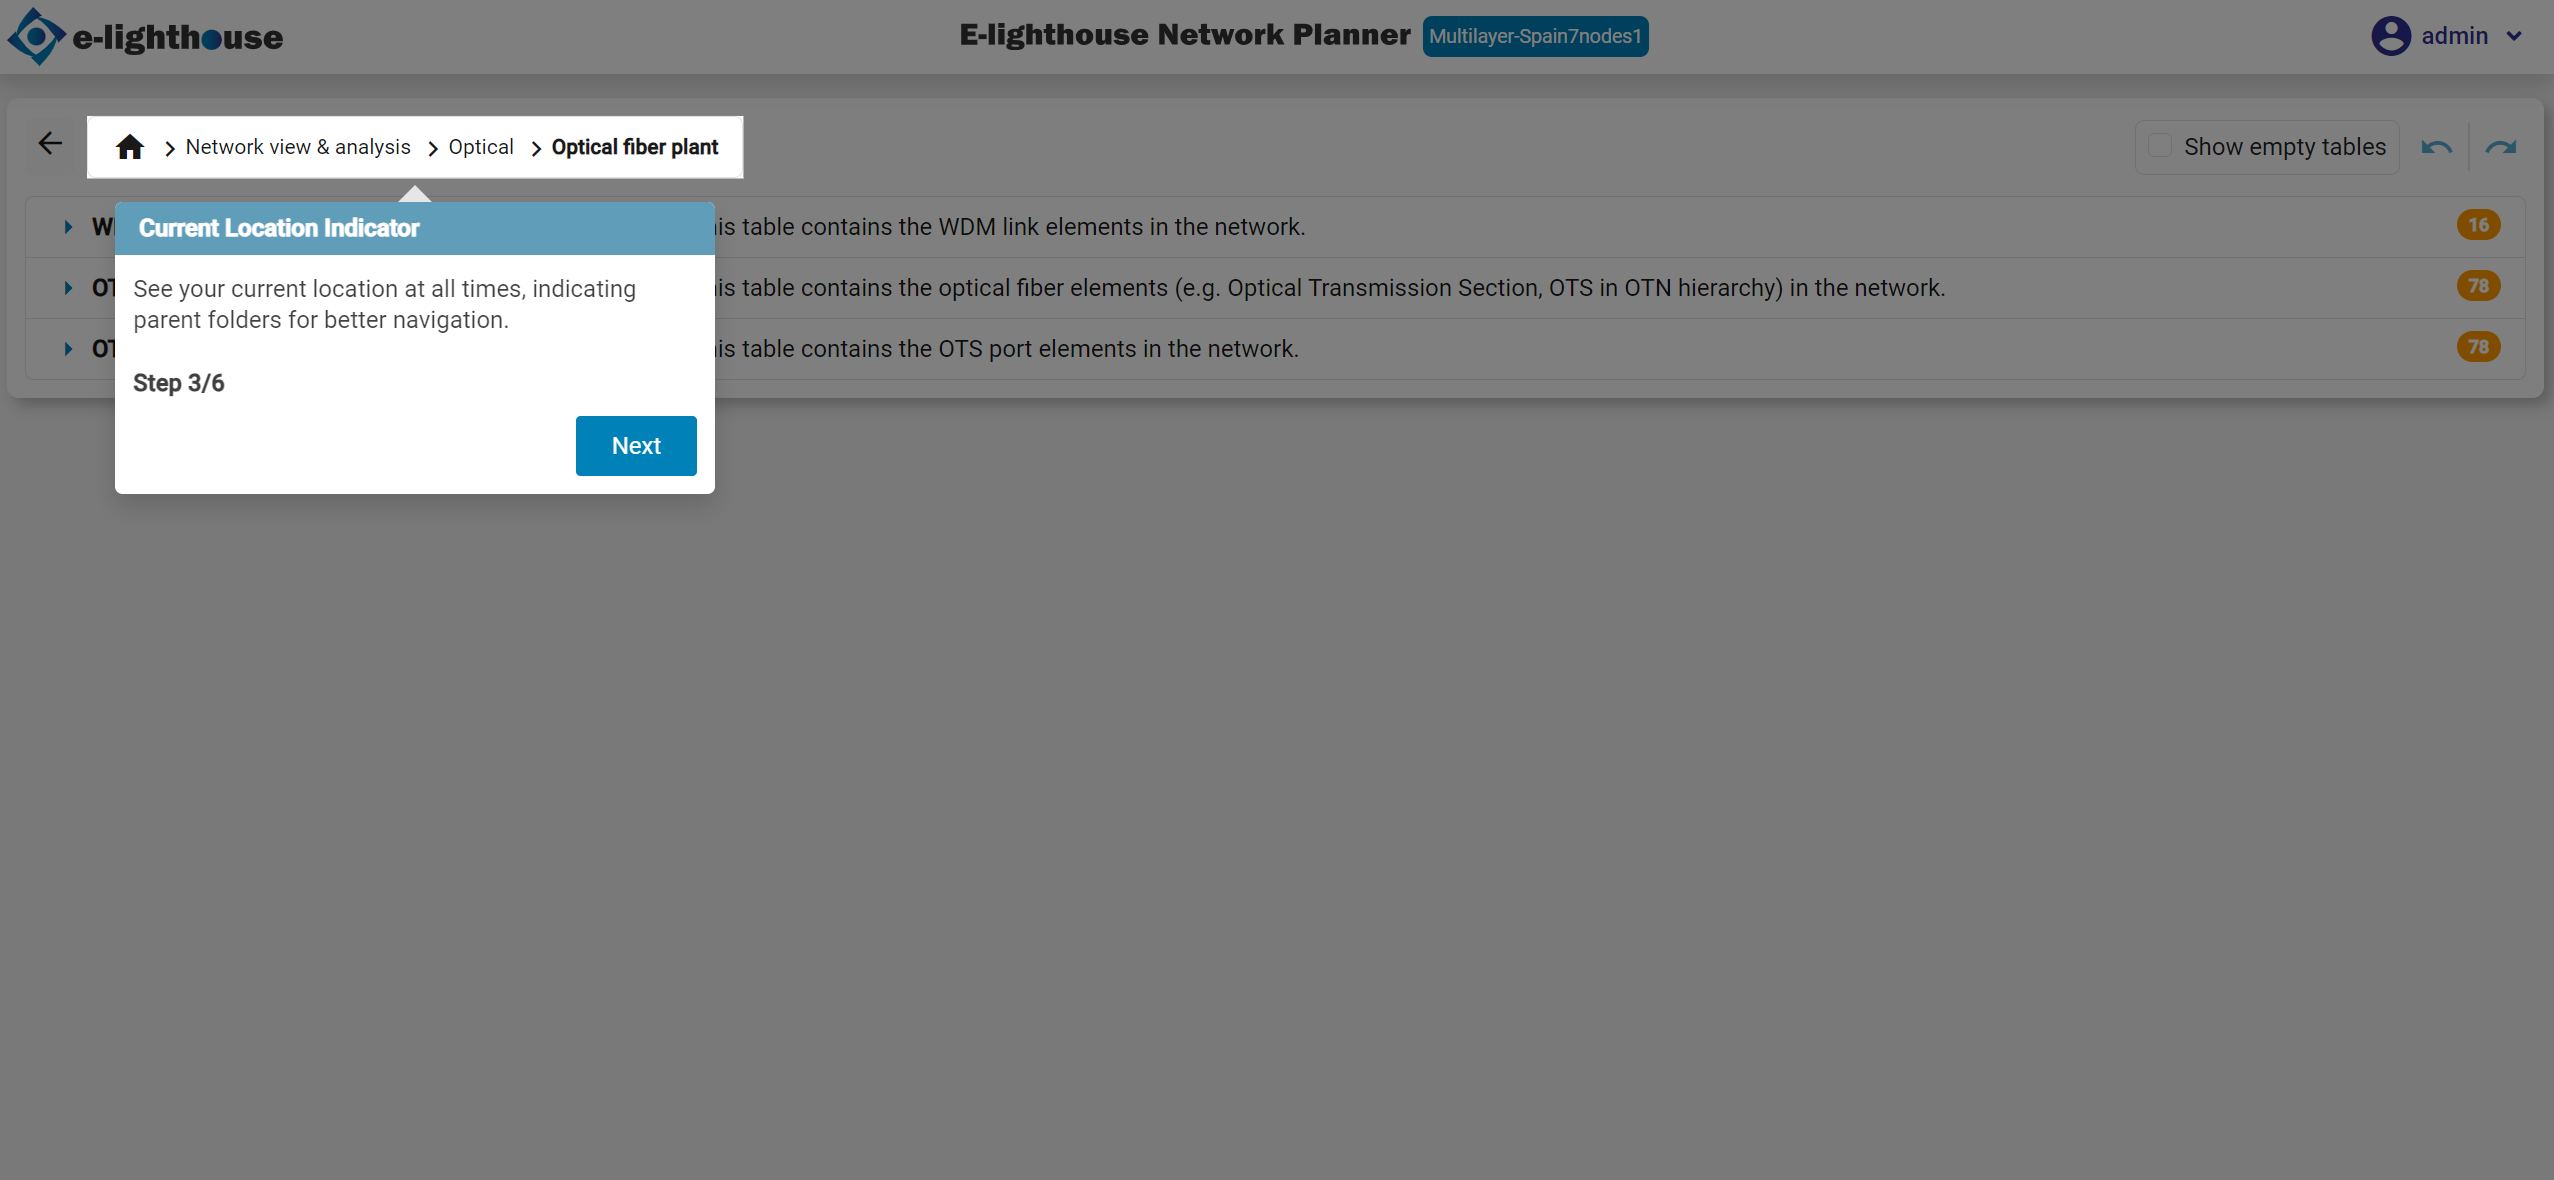
Current location identificator
Section to see the current location al all times, indicating parent folders for better navitagion.
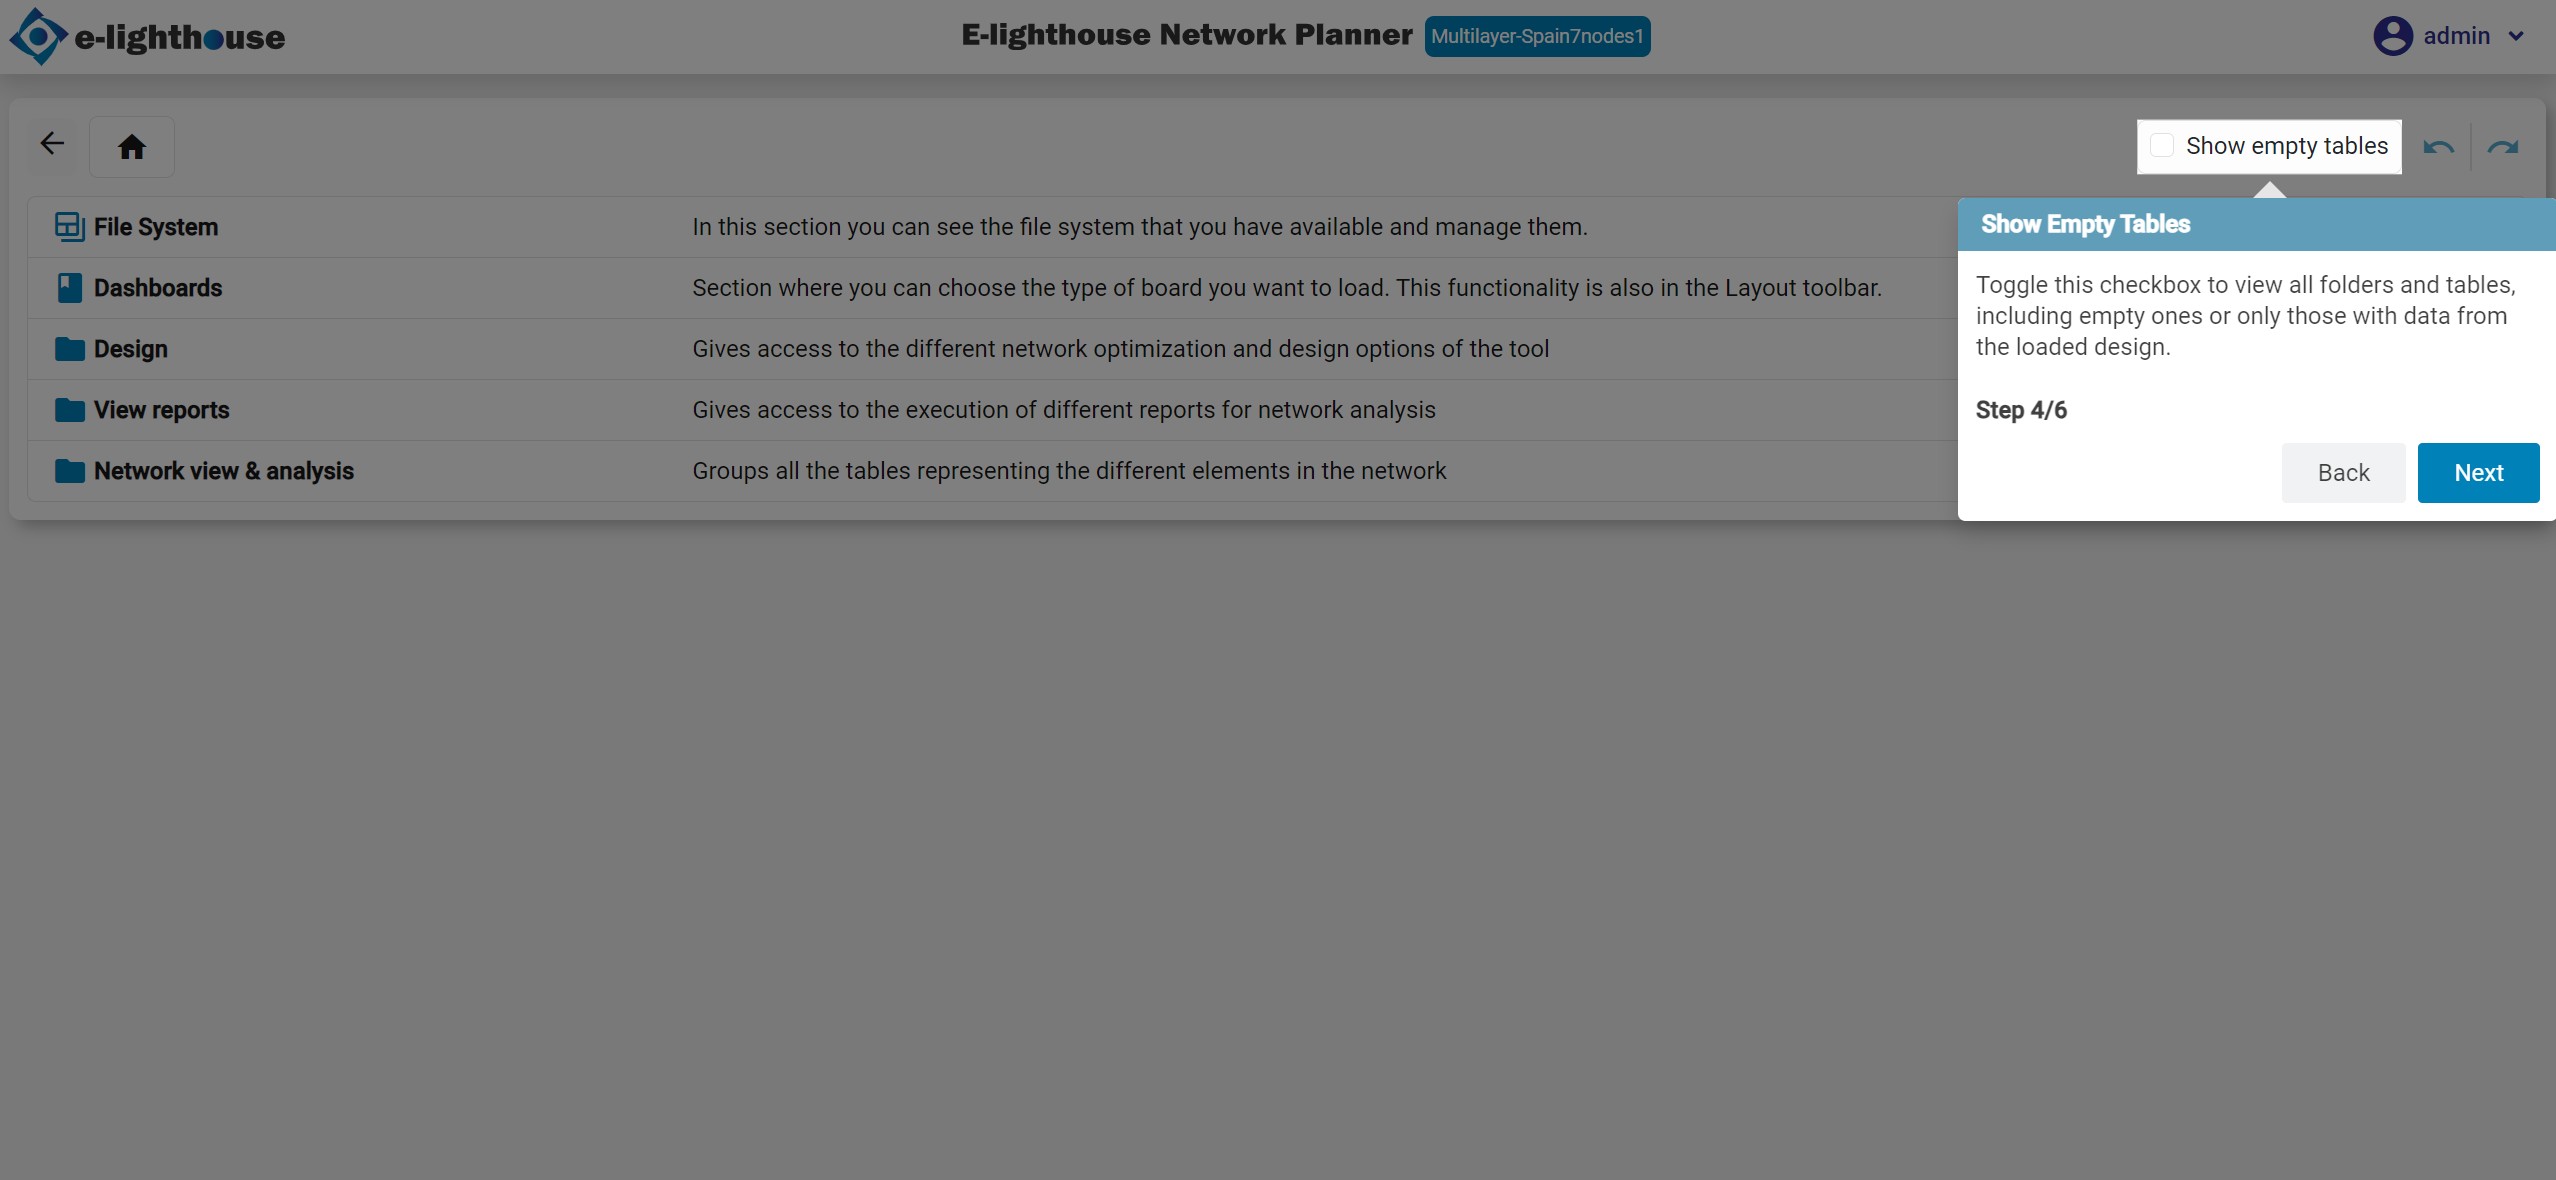
Show empty tables
Toggle this checkbox to view all folders and tables, including empty ones or only those with data from the loaded design.
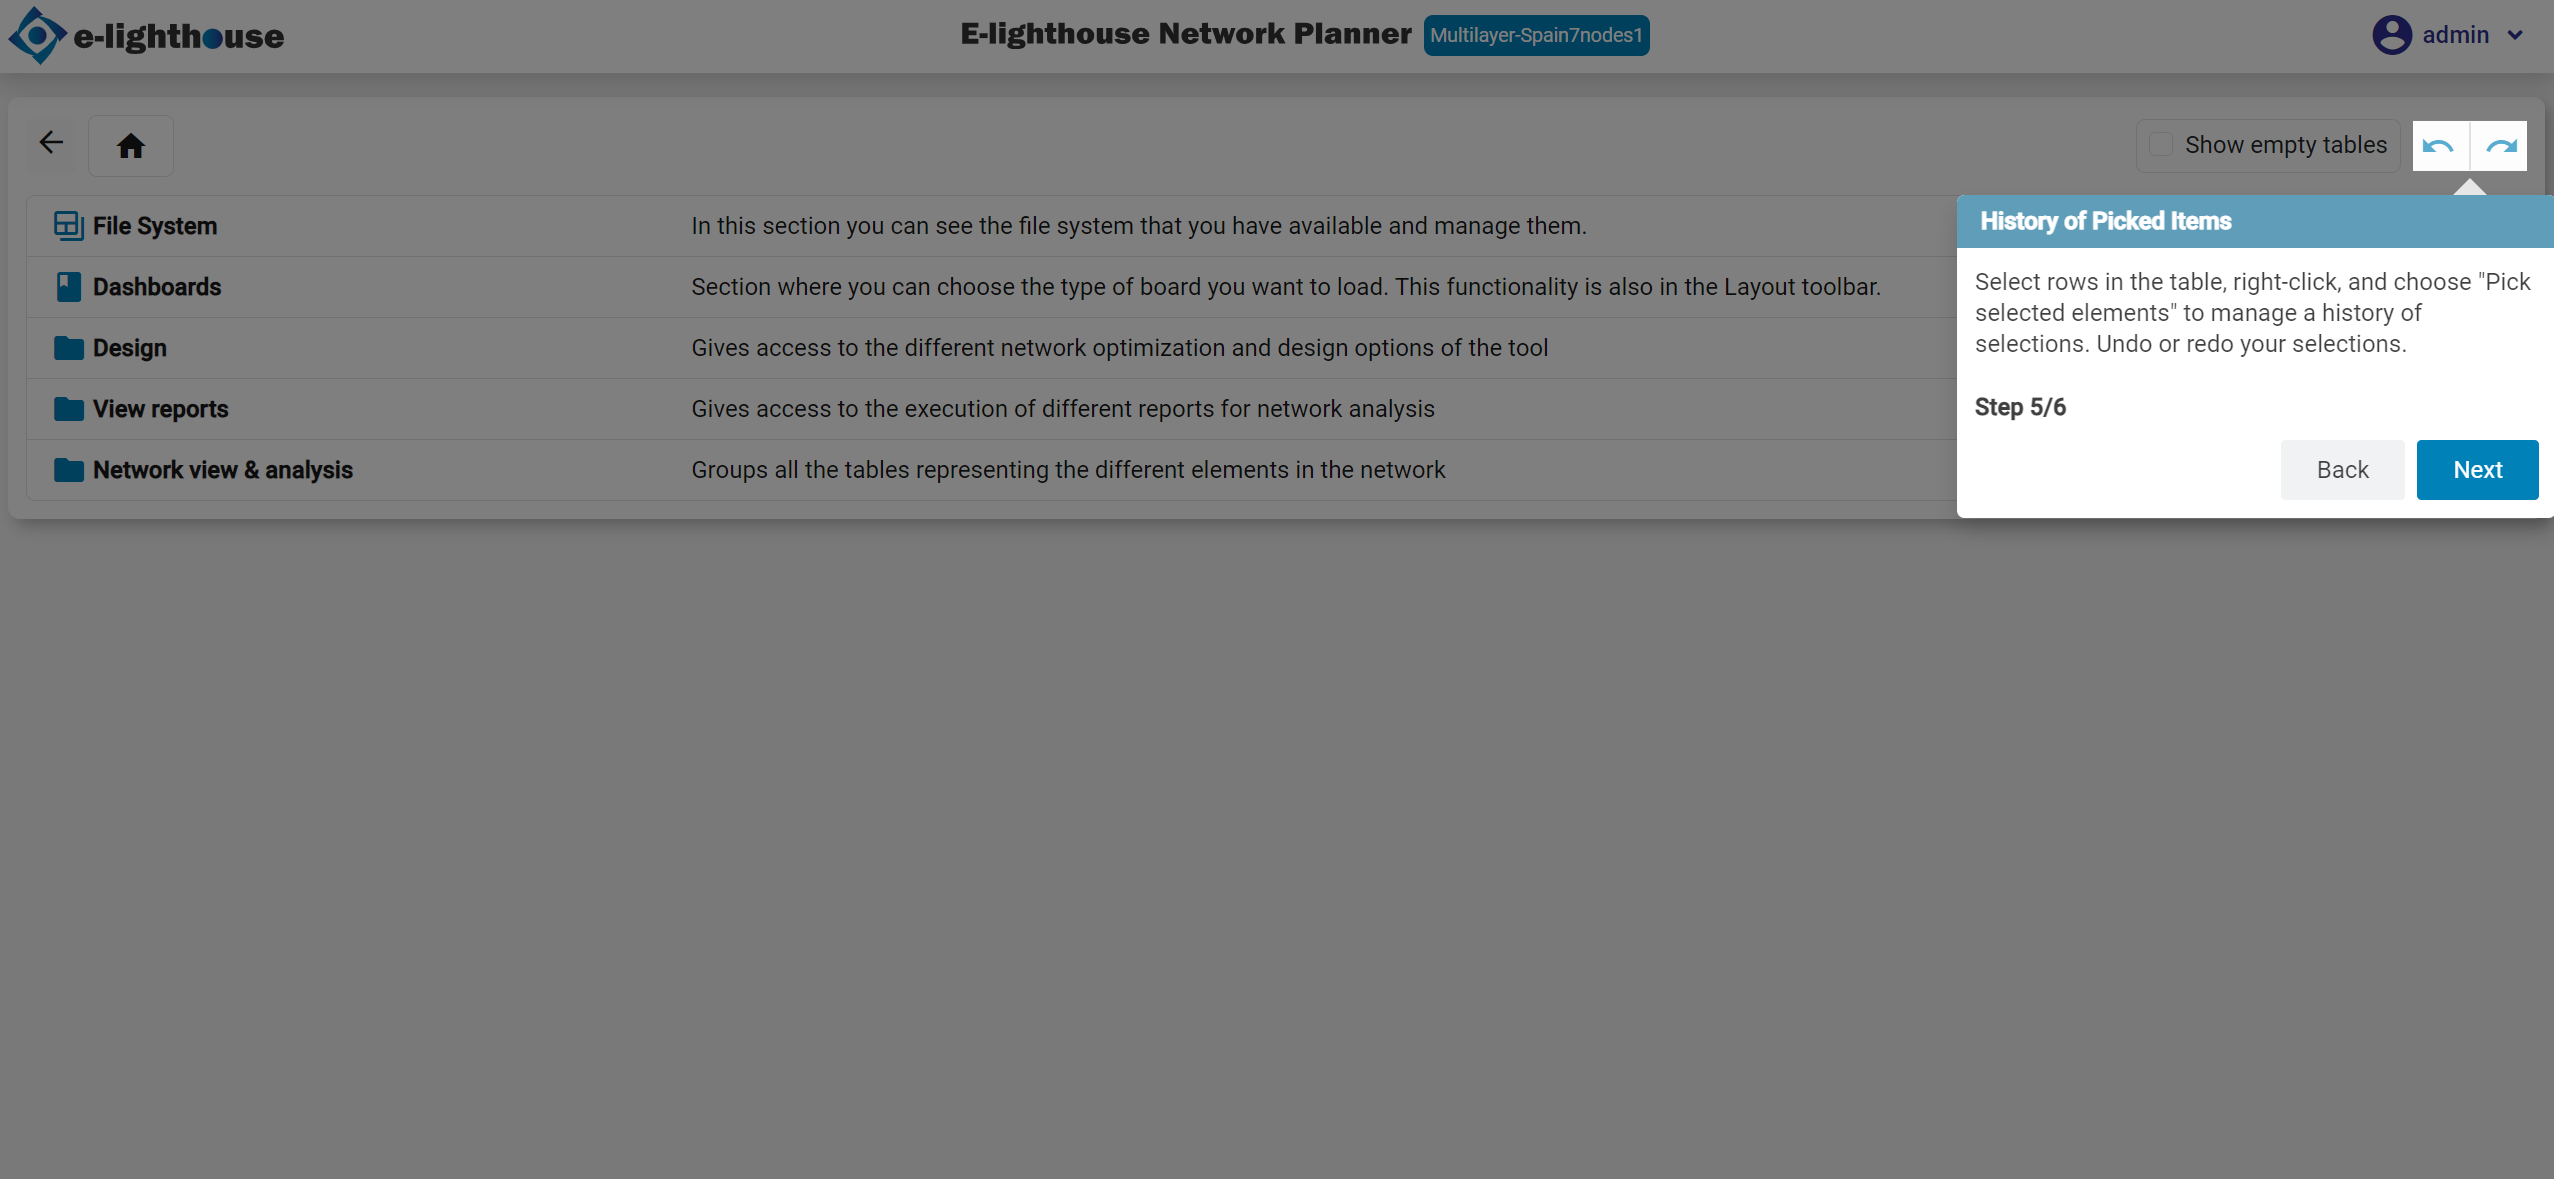
History of picked items
Select rows in the table, right-click, and choose "Pick selected elements" to manage a history of selections. Undo or redo your selections.
Top menu options
The top menu option provides the option to activte the help tour.
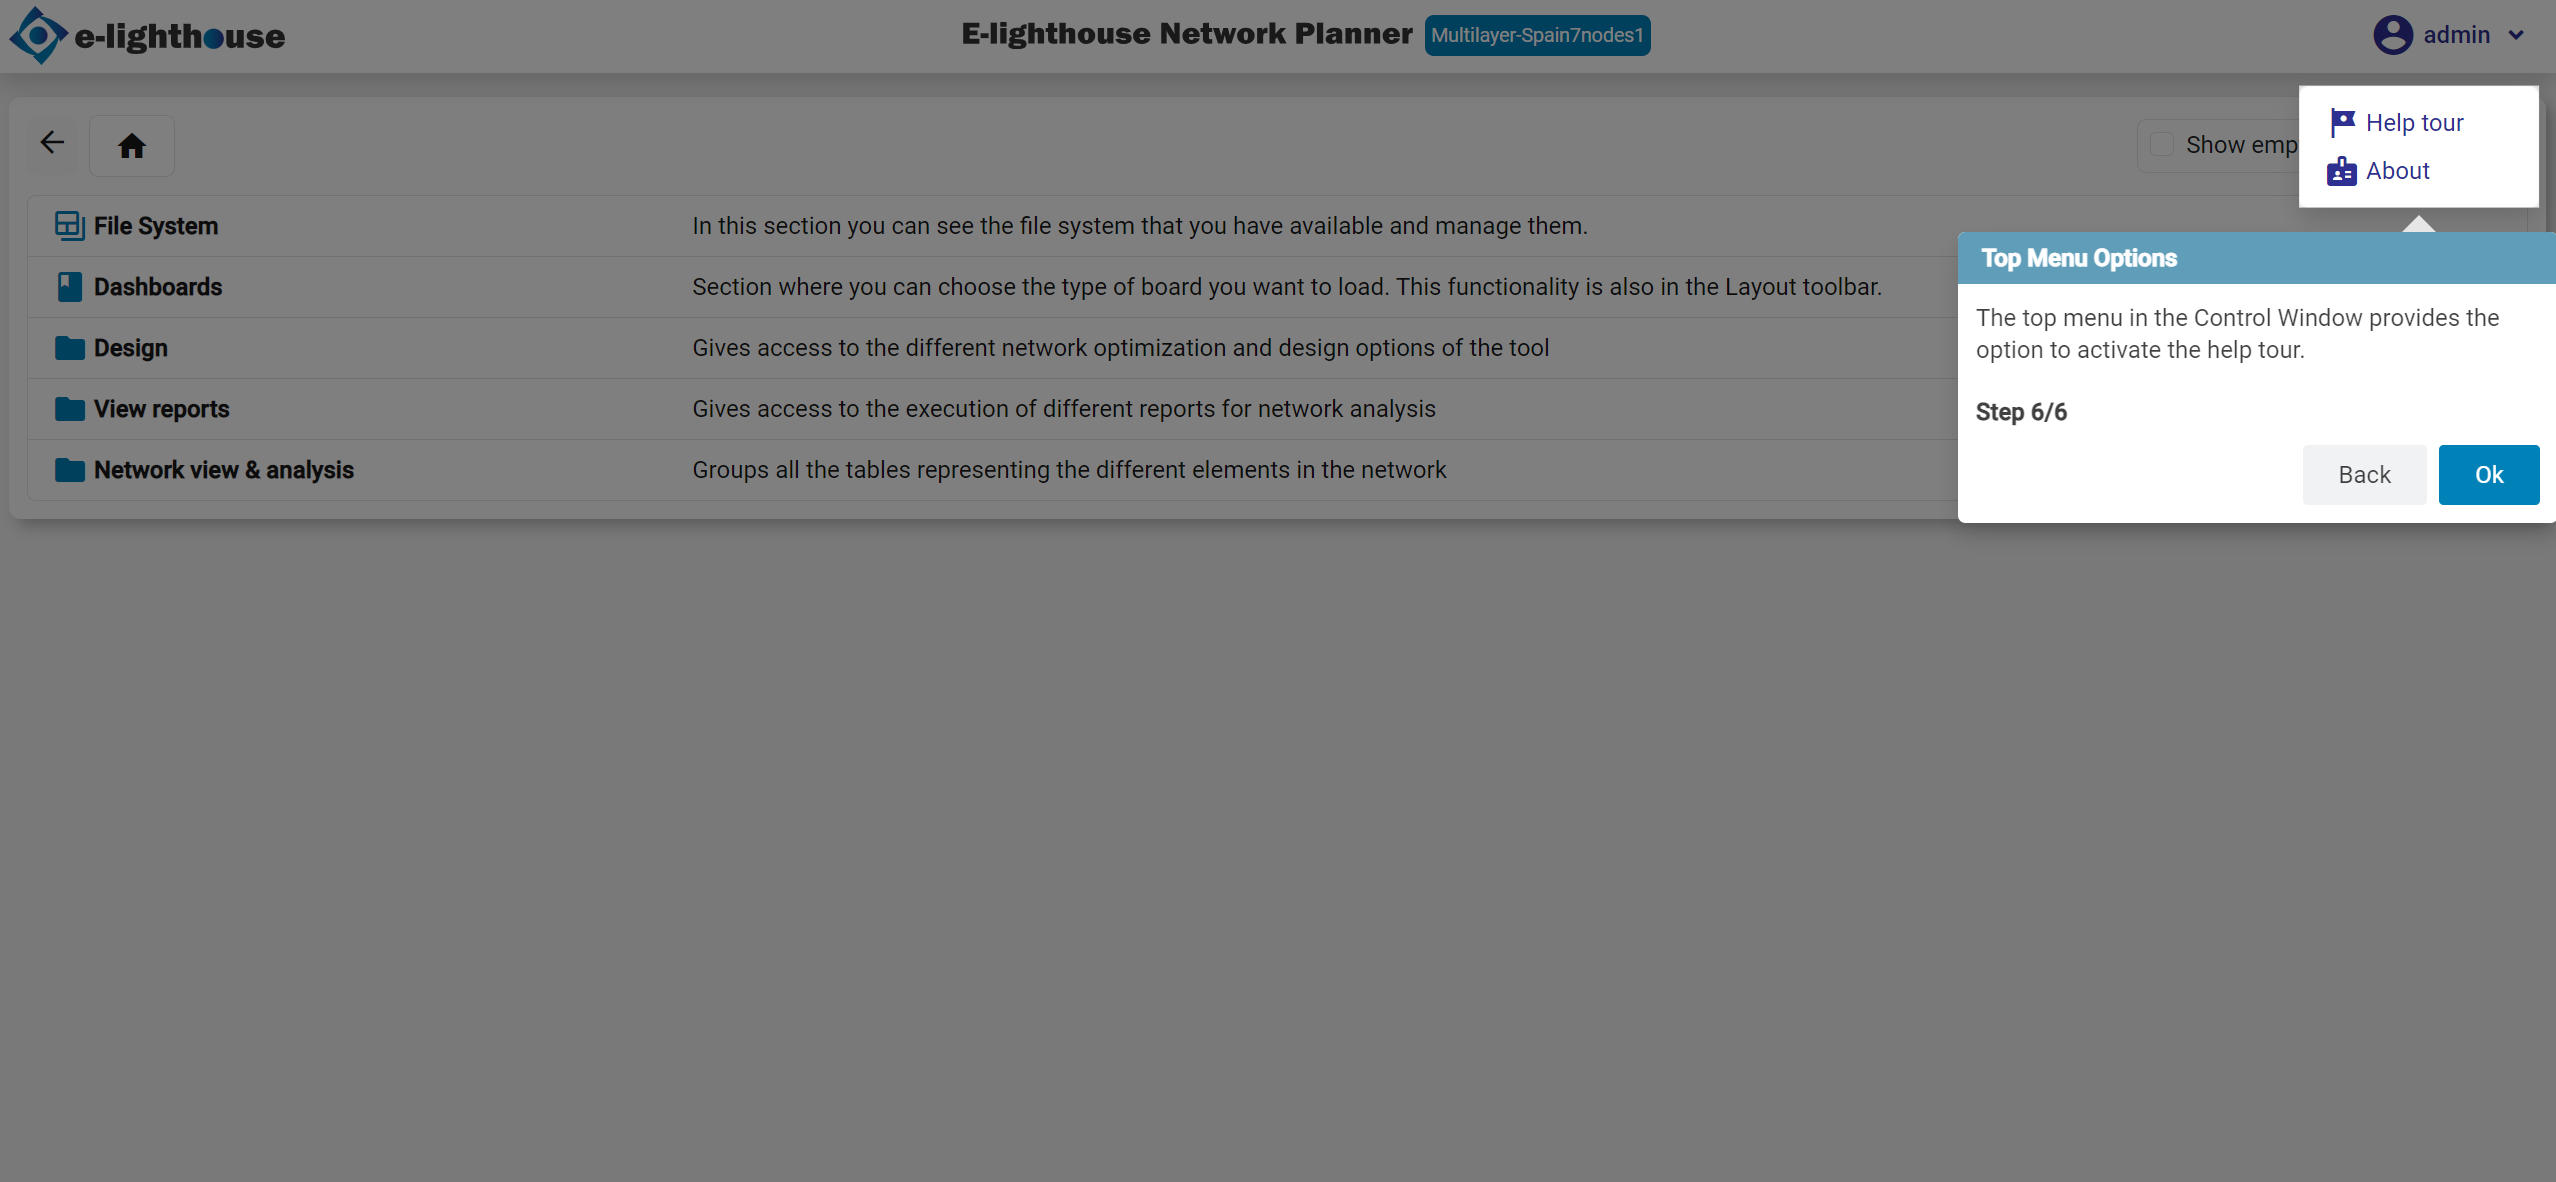
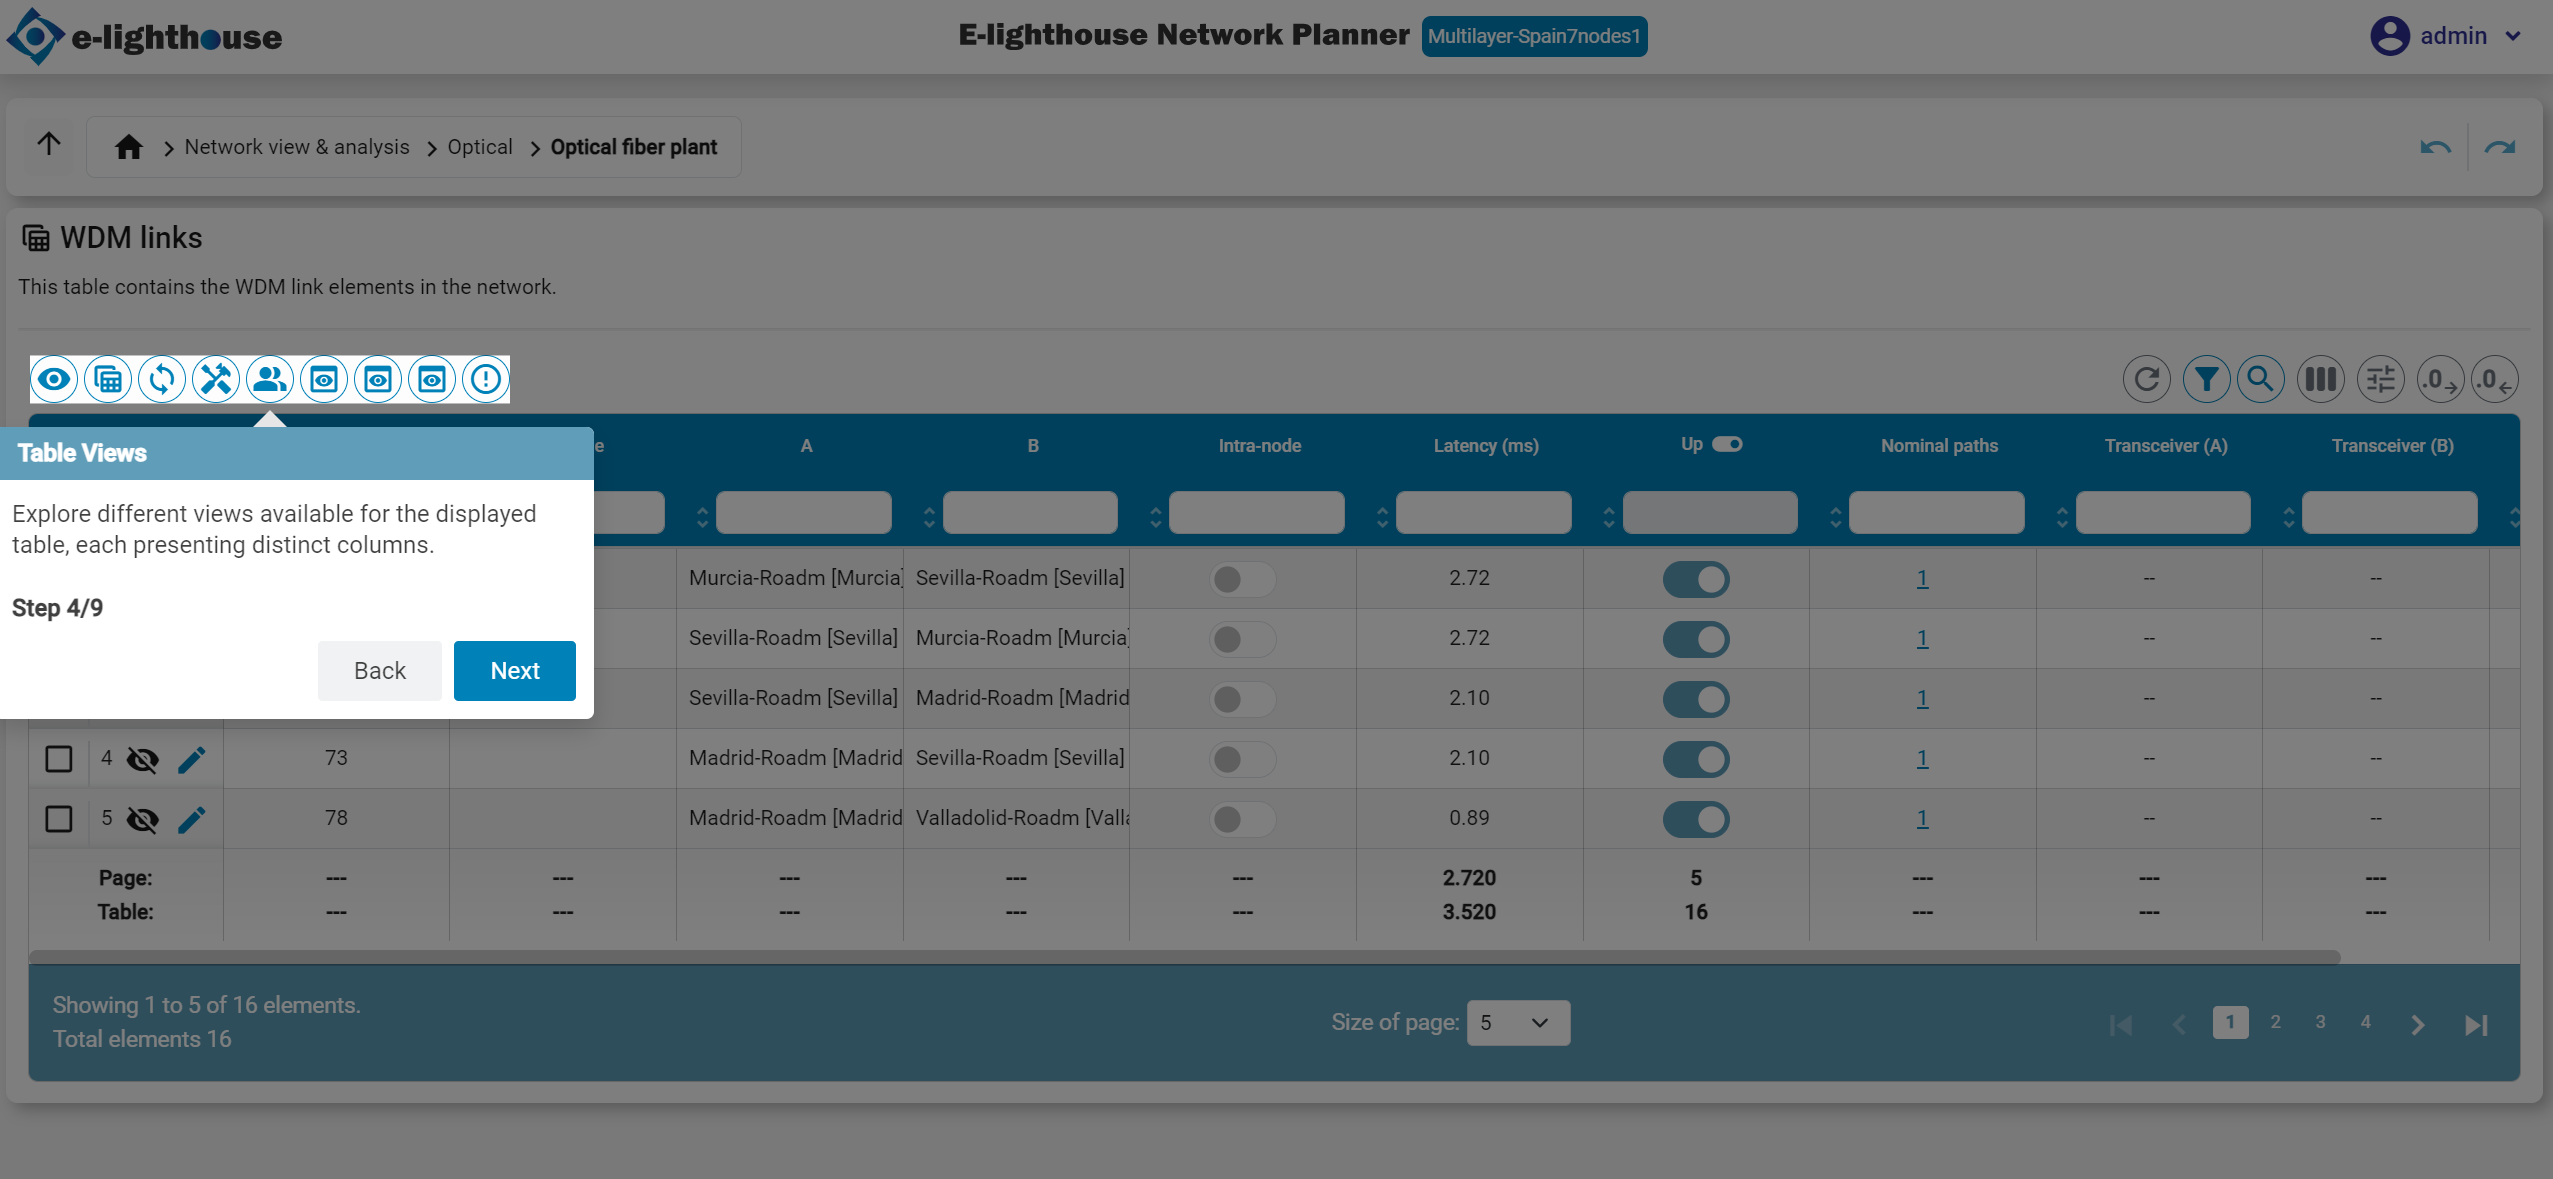
Table Views
Explore different views available for the displayed table, each presenting distinct columns.
Filtering
Effortlessly search and filter table data by entering keywords or values specific to each column.

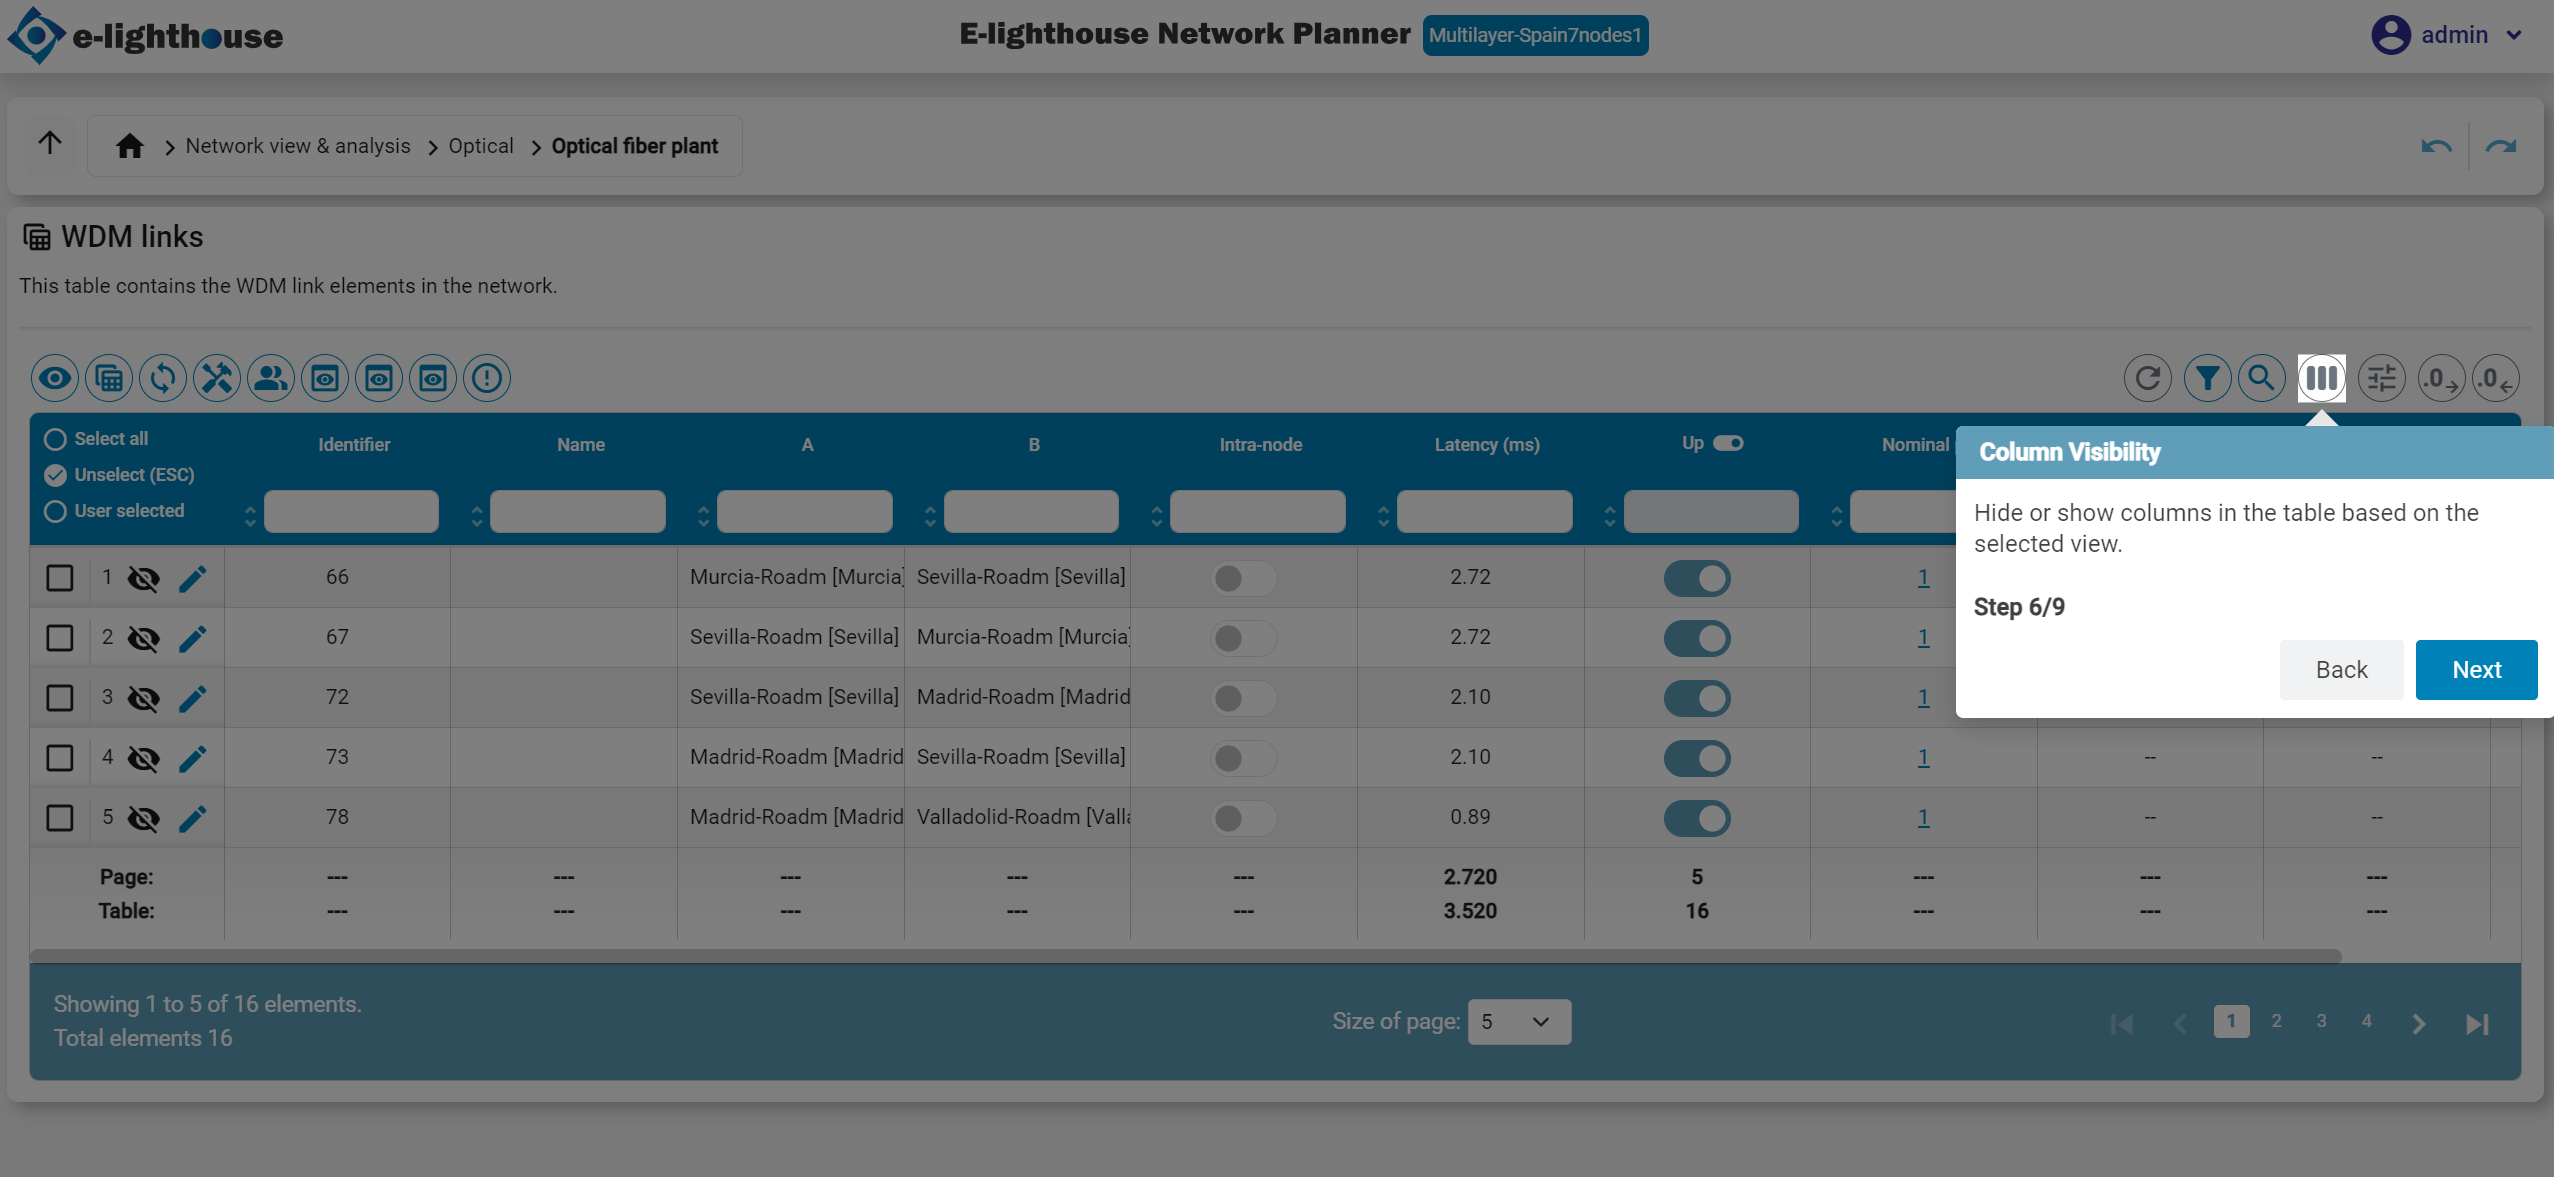
Column visibility
Hide or show columns in the table based on the selected view.
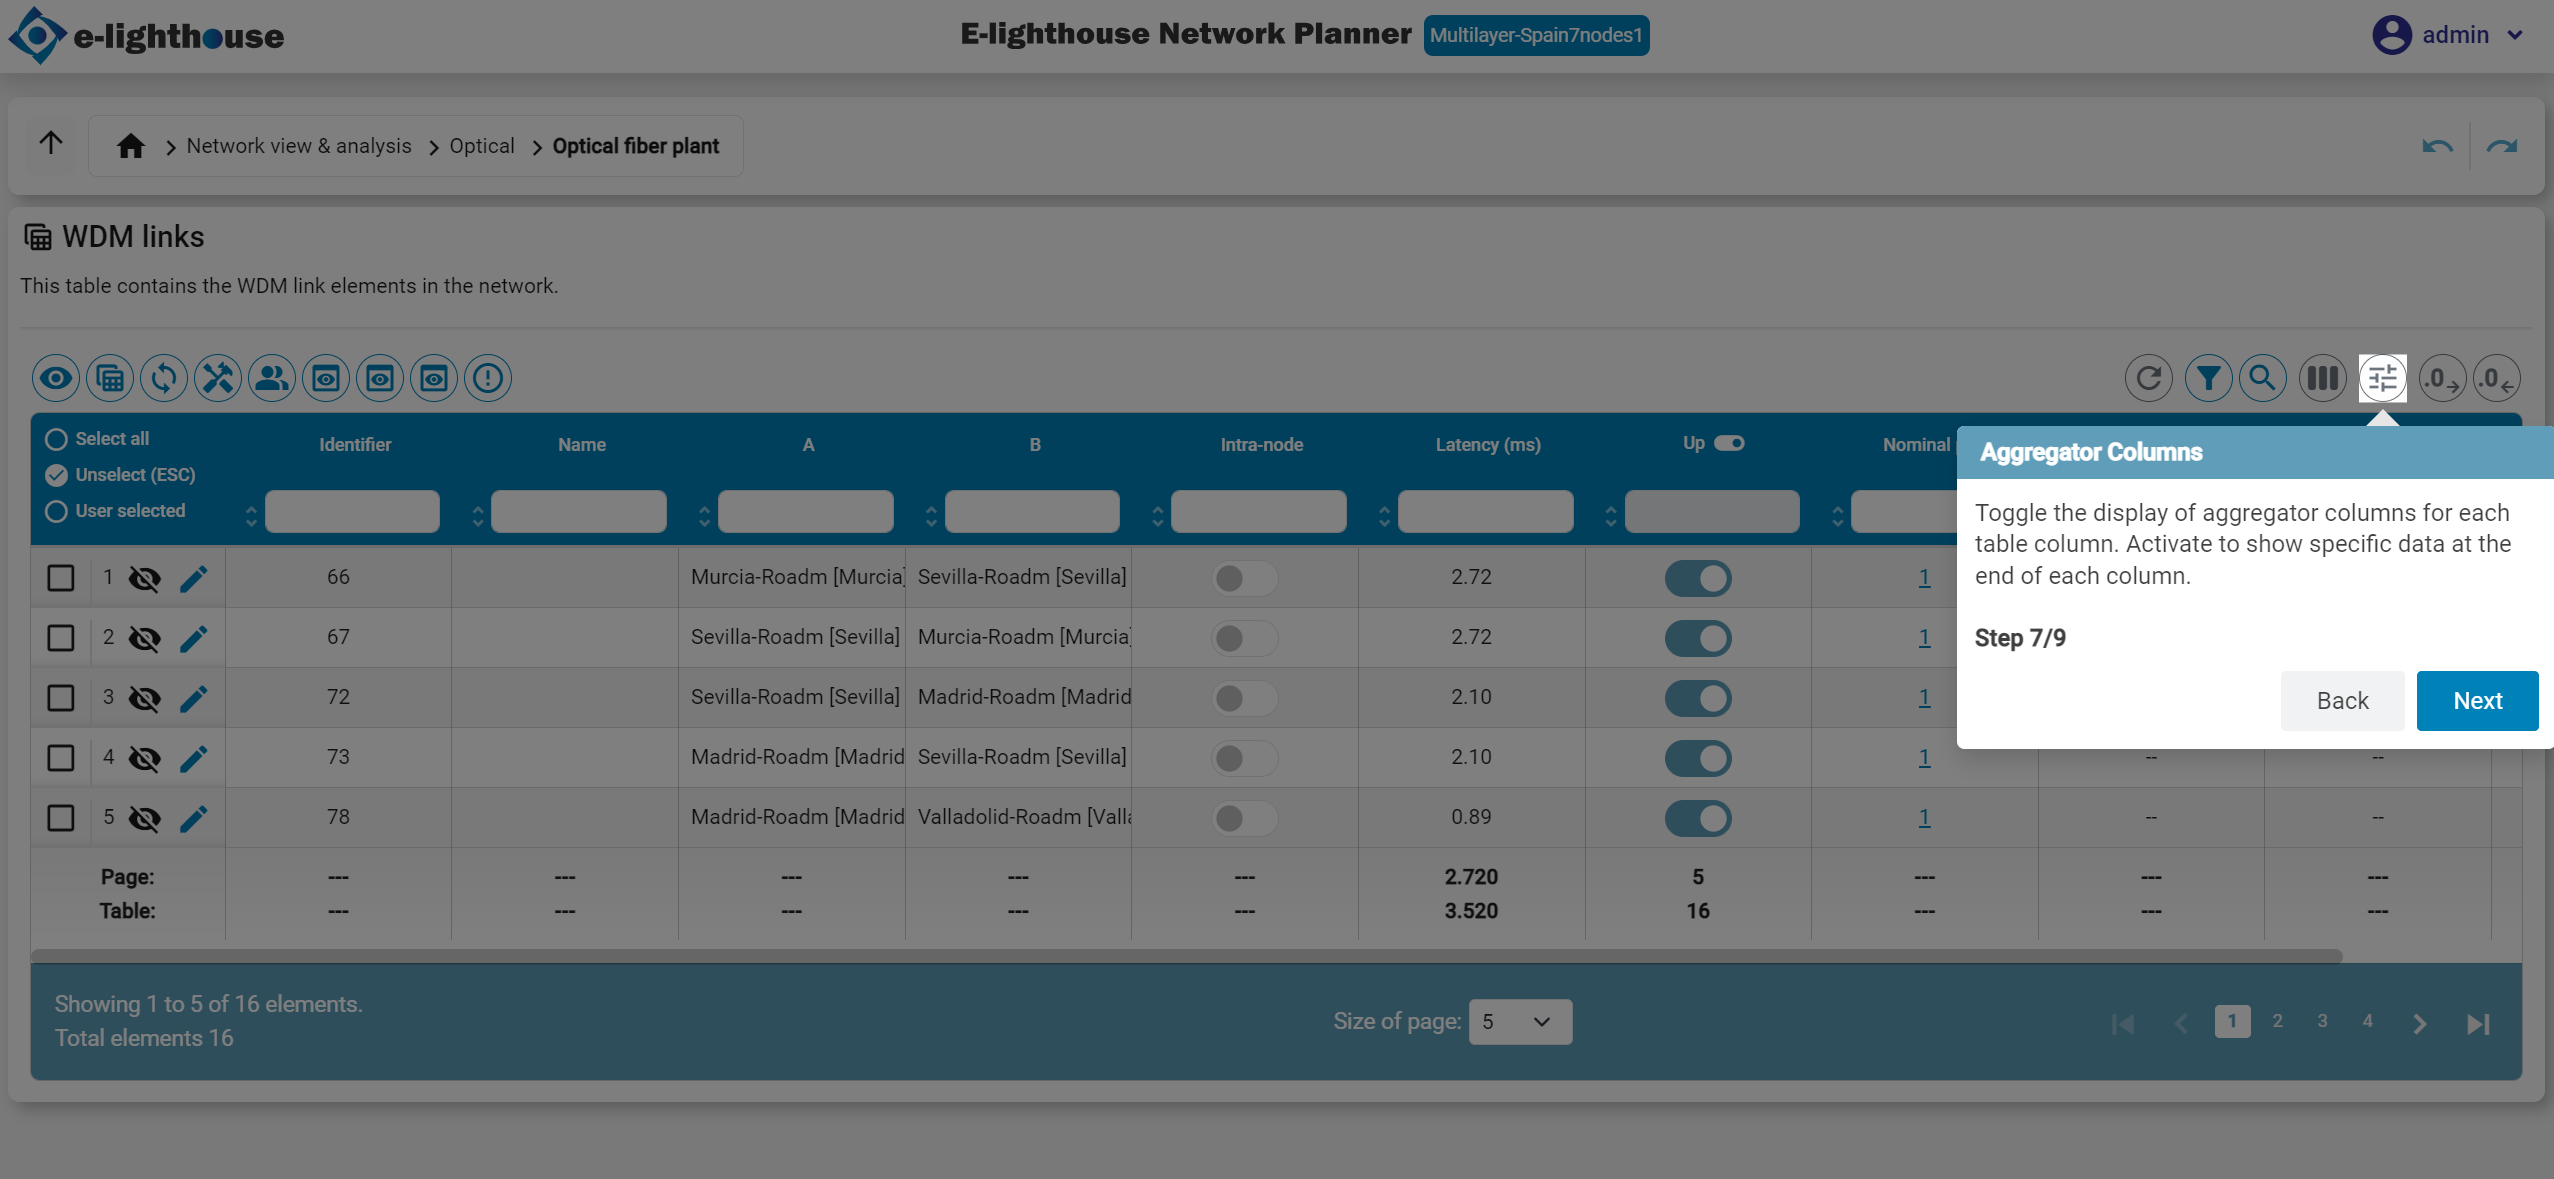
Aggregator columns
Toggle the display of aggregator columns for each table column. Activate to show specific data at the end of each column.
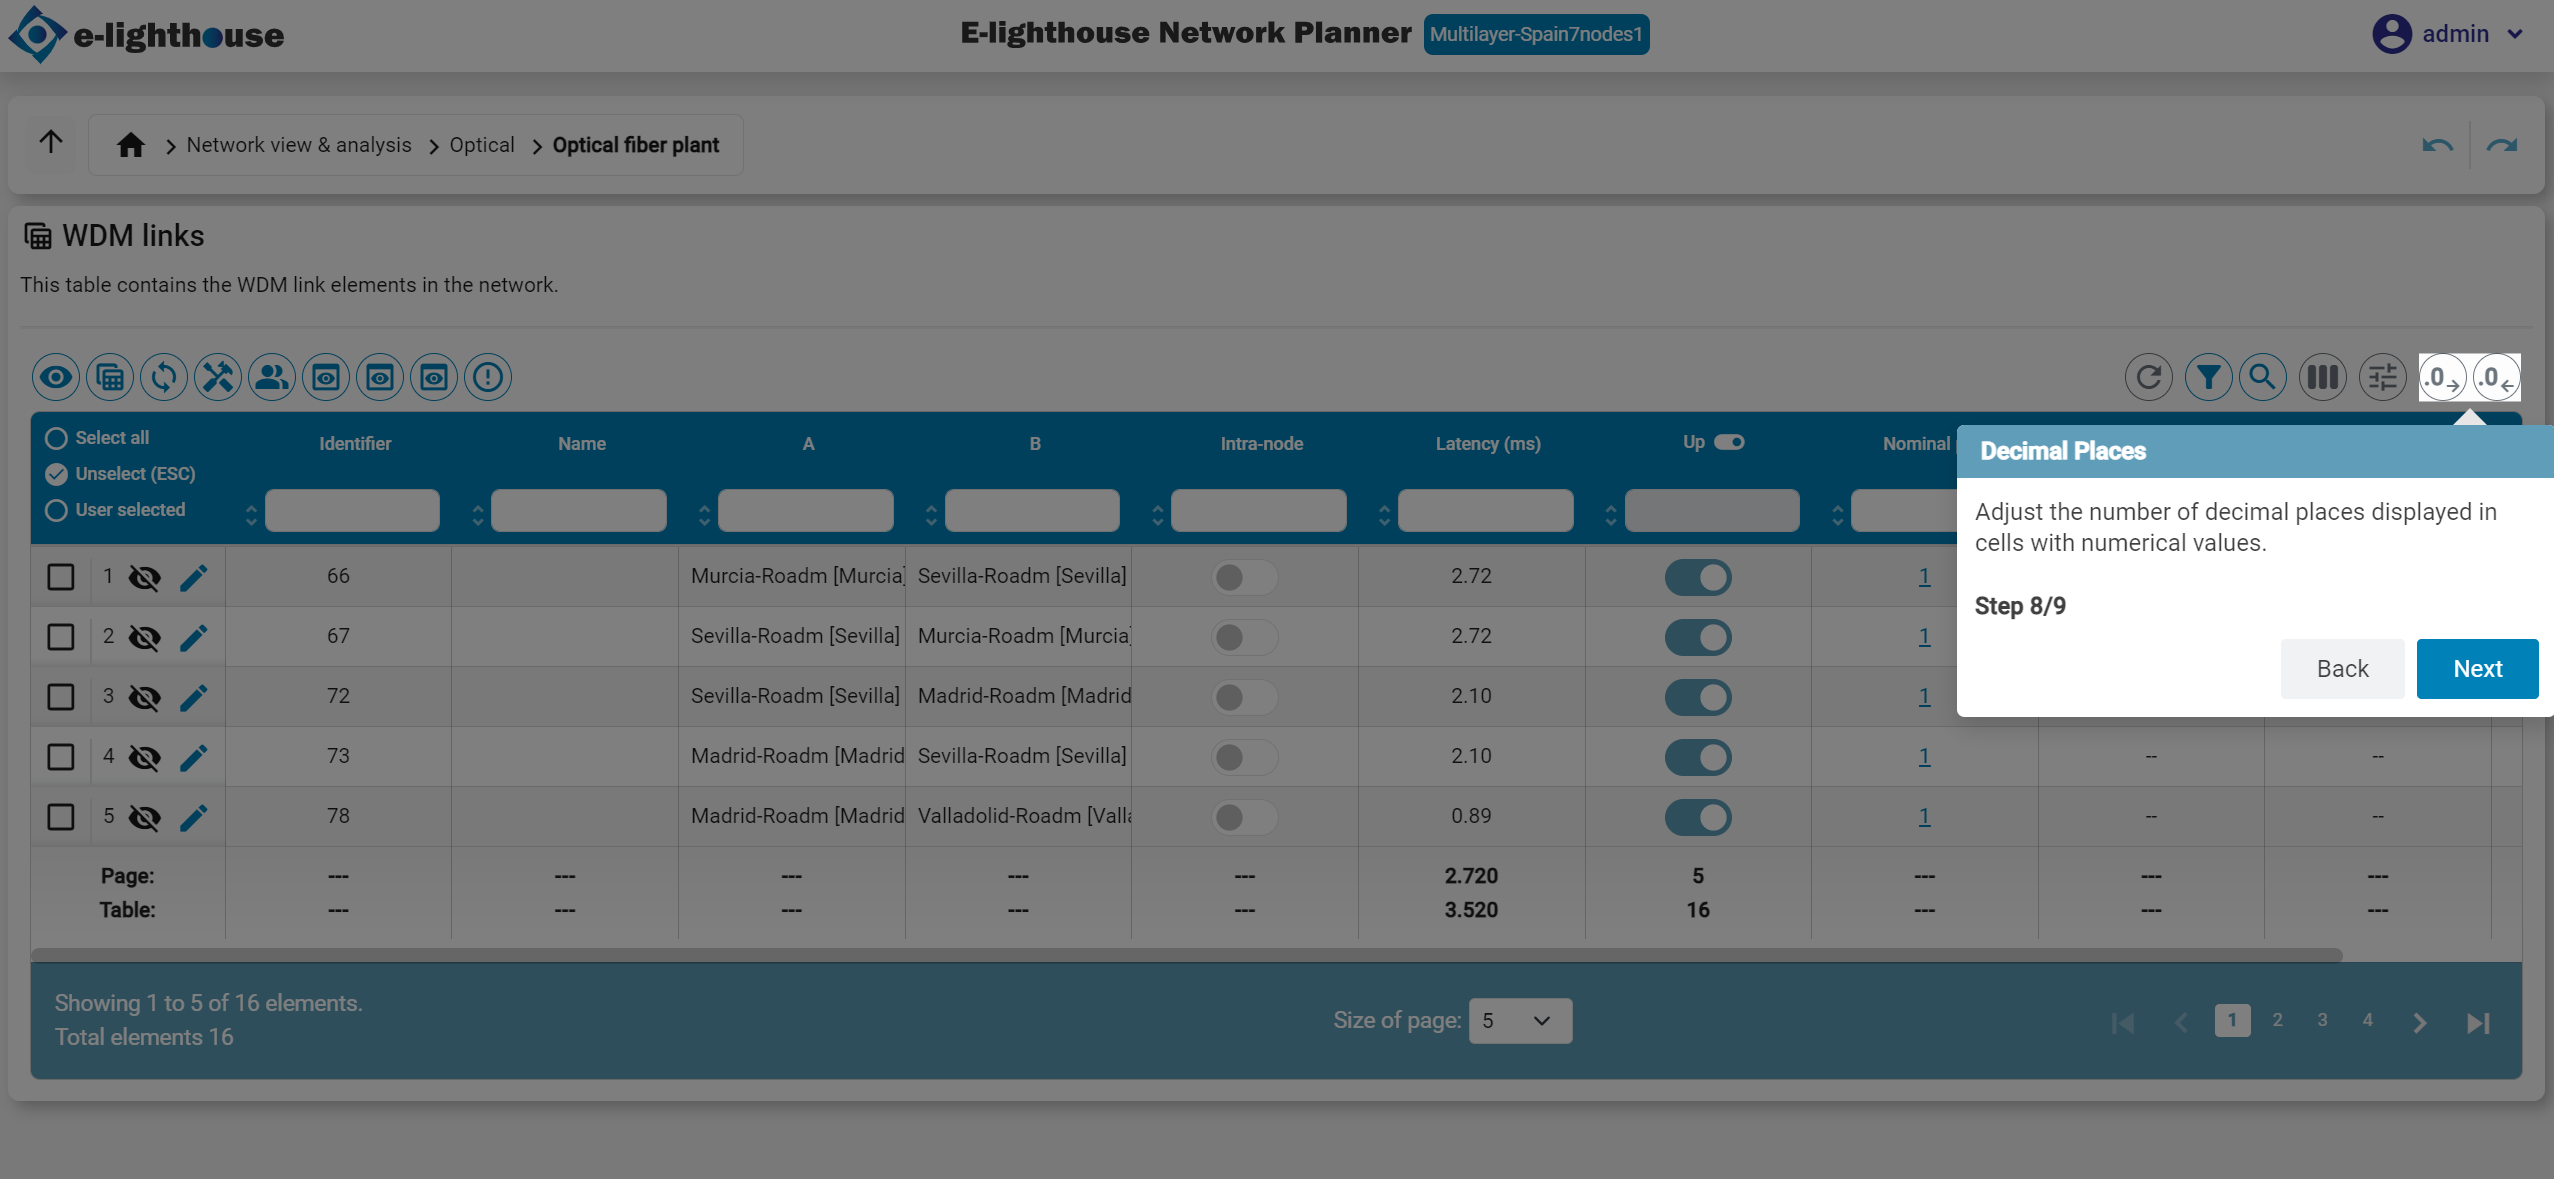
Decimal places
Adjust the number of decimal places displayed in cells with numerical values.